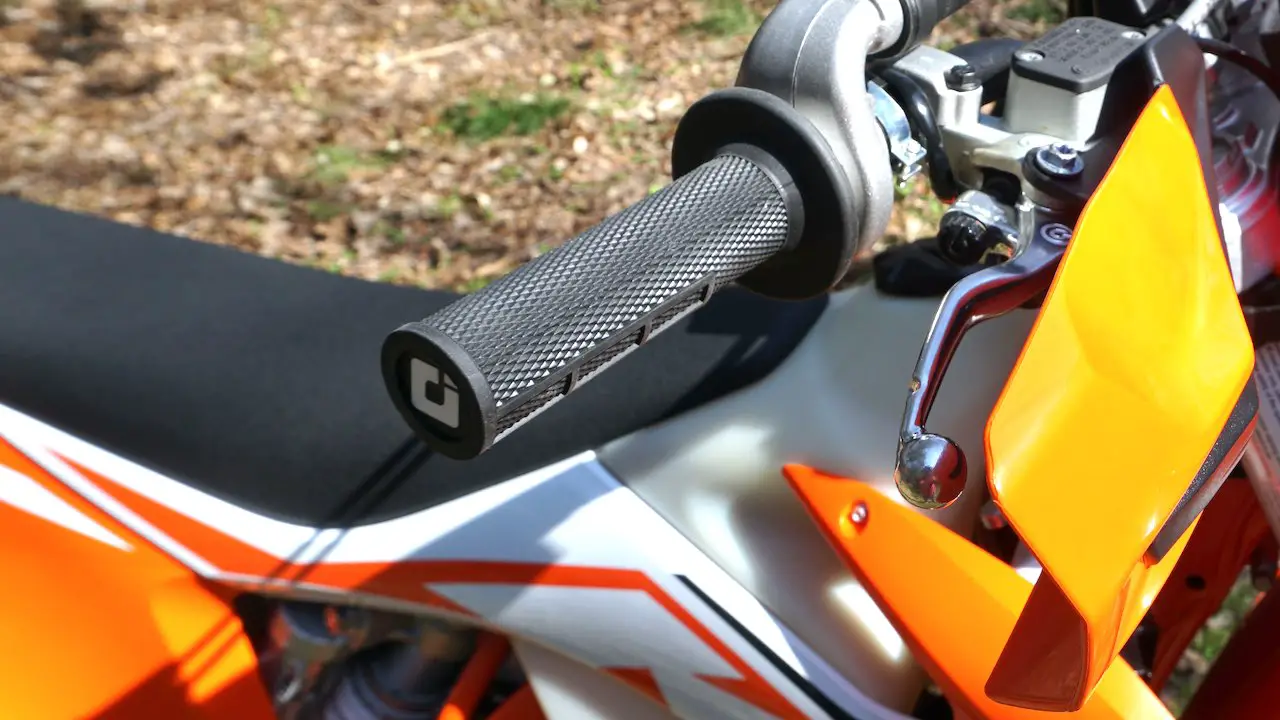
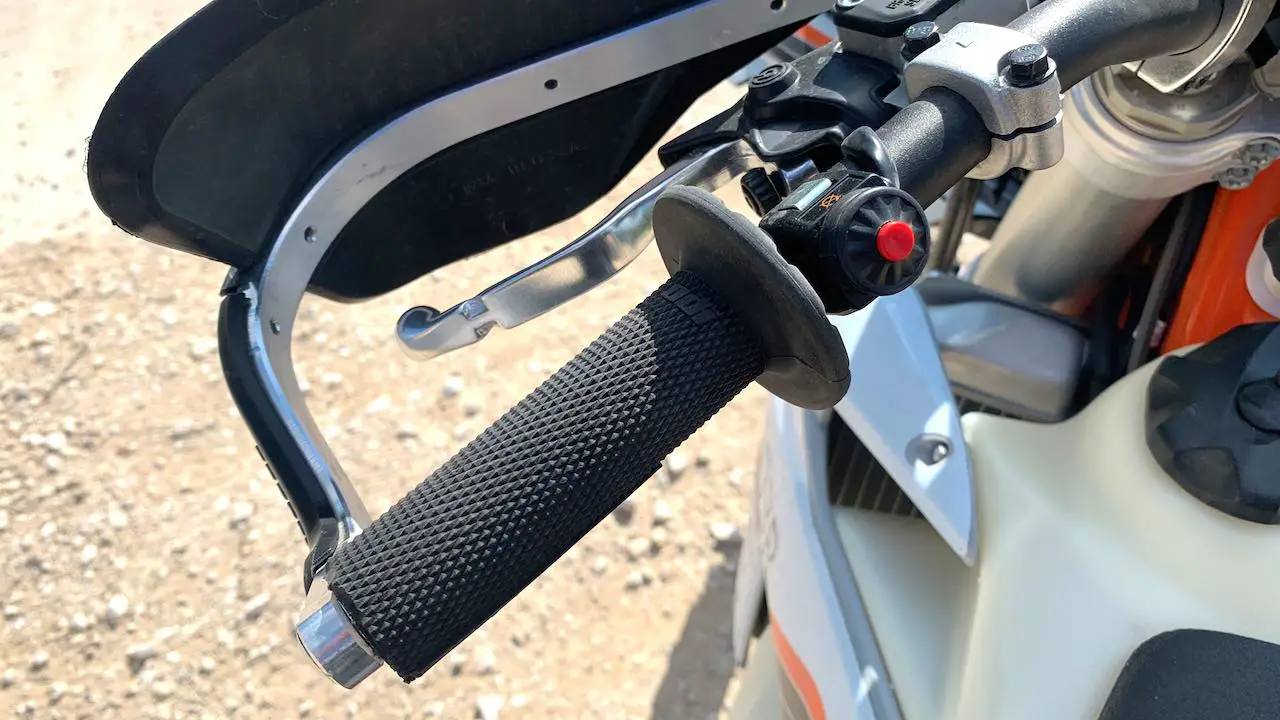
Knowing how to install dirt bike grips is an important task for every rider. It not only ensures a comfortable grip, but also maximizes control and safety.
In this guide, we’ll take you through the step-by-step process of how to install dirt bike grips. We’ll cover everything from the tools you’ll need to the techniques required for a successful installation as well as pro-level tips for easy installation.
Our detailed instructions and tips will make it easy for riders of all skill levels to install their own grips and get back on the trail. So, if you’re looking to replace your old grips or simply want to learn a new skill, follow along with our guide and get ready for a smooth ride.
In this guide, we cover following topics:
Recommended Tools For Installing Dirt Bike Grips
Before you can install dirt bike grips on your dirt bike, you’ll need the right tools.
In this section, we’ll take a look at the essential tools you’ll need for a successful grip installation.
If you haven’t decided on the new grips yet, take a look at our guide to dirt bike hand grips for additional information and grip ideas: Grip it and rip it: A Comprehensive guide to dirt bike hand grips.
To install new grips on your dirt bike, you will need the following tools:
- Grip glue or spray adhesive
- Safety wire and wire pliers
- Utility knife or razor blade
- Grip donuts (optional)
- Compressed air (optional)
- Zip ties (optional)
Having these tools on hand will ensure that you can properly install new dirt bike grips with ease and accuracy.

How to Remove Old Grips
Removing old grips is an important step in the grip installation process. In this section, we’ll show you how to remove your old dirt bike grips safely and effectively.
Here are the steps to remove old dirt bike grips:
- First, loosen any bar-end weights or handguards that may be covering the end of the grip.
- Next, spray grip adhesive remover or rubbing alcohol between the grip and the handlebar.
- Continue to twist and pull the grip gently to loosen it from the handlebar.
- If the grip is still difficult to remove, use a utility knife or razor blade to carefully cut it off.
- Once the grip is removed, clean any residue from the handlebar with a clean cloth or rubbing alcohol.
Be careful not to damage the handlebar or any other components while removing the grip. If the grip is stubborn and won’t come off, avoid using excessive force that may cause damage. Instead, try spraying more adhesive remover and let it sit for a few minutes to loosen the grip.
Tips on How To Install Dirt Bike Grips Properly
To properly install dirt bike grips is essential for a comfortable and safe ride. In this section, we’ll cover the techniques and tips you need to know for a successful installation.
Here are the steps to install new dirt bike grips:
- Clean the handlebar with rubbing alcohol and let it dry completely.
- Next, apply grip glue or spray adhesive to the inside of the new grip.
- Slide the grip onto the handlebar, making sure it is straight and aligned with the throttle.
- Use safety wire or wire pliers to secure the grip by wrapping it around the grip and the handlebar.
- Cut off any excess wire and tuck the ends in with pliers.
- If desired, add grip donuts to the end of the grip for added comfort.
- Finally, test the throttle and grip to ensure that they move smoothly and freely.
It’s important to take your time when installing new grips to ensure they are properly aligned and secured. Also, make sure to follow the manufacturer’s instructions for any specific steps or precautions.

Installing Grips With Wrap-Around Hand Guards
If you have full wrap-around hand guards or bar ends, you need to modify the grips first.
The installation is similar to the steps above, however you need to cut the ends of the grips off. Use a good knife or box cutter and carefully cut the very and of the grips out. First cut through the rubber and then through the plastic.
Install the grips following the steps above. Next, install the wrap-around hand guards or bar ends. On the throttle side, make sure to leave about a 1/8″ gap to the throttle grip to avoid binding.
Pro-tip: Insert a washer to the bolt that goes inside the bar end. This washer prevents the guard from pushing inwards on impacts to the right side bar end causing the throttle to bind.
Tips and Tricks
There are a couple of methods you can use to make installing dirt bike grips easier. One way is to use compressed air. Here are the steps:
- Apply grip glue or spray adhesive to the inside of the new grip.
- Attach a compressed air nozzle to the end of the grip.
- While holding the grip firmly against the handlebar, blast compressed air into the end of the grip.
- This should create a burst of air that will cause the grip to expand and slide easily onto the handlebar.
- Once the grip is in place, hold it in position for a few seconds to allow the glue to set.
Another method is to use zip ties. Here are the steps:
- Apply grip glue or spray adhesive to the inside of the new grip.
- Place 4 zip ties inside the grip with the thin end towards the center
- Push the grip in place with the zip ties between the handlebar and grip
- Once the grips are in place, remove the zip ties by pulling them out.
- Hold the grip in position for a few seconds to allow the glue to set.
Using either of these methods can make installing dirt bike grips much easier and faster, especially if you have struggled with installing grips in the past.
Maintenance
Maintaining your dirt bike grips is important for ensuring maximum performance and durability. Here are some tips to help you keep your grips in top condition:
- Keep them clean: Dirt, mud, and debris can accumulate on your grips and affect their performance. Regularly clean them with soap and water, or a grip-specific cleaner.
- Check for wear and tear: Over time, grips can become worn or damaged. Check them regularly for signs of wear and tear, such as cracks, tears, or thinning.
- Replace when necessary: If your grips are worn or damaged, it’s important to replace them. Riding with worn or damaged grips can affect your control and increase your risk of accidents.
- Use grip glue: To ensure a secure fit and prevent slipping, use grip glue when installing new grips.
- Use grip donuts: Grip donuts can help protect your grips from wear caused by rubbing against the controls.
By following these tips, you can keep your dirt bike grips in top condition and ensure maximum performance and durability.
Frequently Asked Questions
What tools do I need to install dirt bike grips?
Box cutter, knife or similar to cut old grips off, grip glue, safety wire and compressed air or zip ties (optional).
How do I remove old dirt bike grips?
Cut old grip off with razor blade, remove any remaining glue or debris.
How do I install new dirt bike grips?
Apply grip glue to inside of new grip, slide onto handlebar, adjust as necessary.
What is the best method to install dirt bike grips?
Compressed air or zip ties can make installation easier and faster.
Can I use compressed air or zip ties to install dirt bike grips?
Yes! They are the best and easiest methods of installing new dirt bike grips.
What are the different types of dirt bike grips and which one should I choose?
Soft, hard, half waffle, and full waffle grips are available. There are 2 types of grips, glue-on or clamp-on (lock-on). The glue-on types are glued and wired in place, clamp-on use a small Allen head bolt to secure the grips in place. For ease of installation, choose clamp-on grips and for comfort, choose half waffle grips.
How to install lock on grips dirt bike?
Remove old grips by cutting them with a razor blade and sliding them off the handlebar. Insert the lock on grips in place and secure by tightening the Allen head
Conclusion
In conclusion, installing dirt bike grips can seem like a daunting task, but with the right tools and knowledge, it can be a straightforward process. By following the steps outlined in this guide, you can ensure that your new grips are properly installed and ready to perform at their best.
Remember to take your time, pay attention to detail, and use extra methods like compressed air or zip ties to make the installation easier. And don’t forget to maintain your grips regularly to ensure maximum performance and durability.
So, whether you’re a seasoned pro or a beginner rider, now you have the skills to confidently install your own dirt bike grips and hit the trails with comfort and control.
Glue it, grip it and rip it!
Read next:

