Dirt bike wheel bearing replacement is usually needed every 50-100 hours of riding on a dirt bike. The dirt bike wheel bearings life time depends on the bearings used but also on the conditions and trail types you ride in.
Each time you change tires or remove the wheel from the dirt bike for any reason, you should inspect and replace worn out dirt bike bearings.
In this post, you will learn:
- Typical dirt bike wheel bearings service interval
- How to diagnose worn out wheel bearings
- Dirt bike wheel bearing replacement in 10 steps
- and lots more!
Let’s get started.
This post contains affiliate links. If you use these links to buy something we may earn a commission at no additional cost to you. As an Amazon Affiliate we earn from qualifying purchases.
Typical Dirt Bike Wheel Bearings Service Interval
In active dirt bike riding, dirt bike wheel bearing replacement is needed anywhere between 50 to 150 hours. The main factors affecting the wheel bearing lifespan are the conditions you ride in and the parts used. Cleaning and correct maintenance will increase the wheel bearing lifespan in most scenarios.
Furthermore, if you ride in rivers, creeks, and in muddy conditions, you will likely wear out wheel bearings much faster. The water, sand, and other debris inside the wheel hub, on the axle, and bearings are the main factors for early wear.
We have also noticed that typically front wheel bearings will last longer than the rear wheel bearings. When you change tires, it’s always good idea to thoroughly check the dirt bike wheel bearings and regrease them to increase their lifespan. And when necessary, naturally perform a dirt bike wheel bearing replacement.
How To Diagnose Worn Out Dirt Bike Wheel Bearings
It can be difficult to notice a worn out wheel bearing on a dirt bike just by riding it. However, there are some typical symptoms you may notice that point to a worn out wheel bearings, such as:
- The front or the rear of the dirt bike feels unstable at certain conditions. This sometimes feels like the tire is slightly sliding or floating and overall feels unreliable. Check both the swingarm bearings and wheel bearings.
- The dirt bike is not free rolling easily without engine power. The feeling of increased drag or engine brake is present even when the clutch is pulled in or in neutral.
- The chain tension is difficult to set and seems like it’s changing.
If you experience any similar symptoms while riding your dirt bike, it’s time to check the wheel bearing play in both tires and check if you need to perform a dirt bike wheel bearing replacement.
How To Test Wheel Bearing Play Without Removing the Wheel
Firstly, set the dirt bike on a center stand, and raise the wheel you are inspecting off the ground. Secondly, use a wrench under the skid plate to lift the front wheel off the ground if needed.
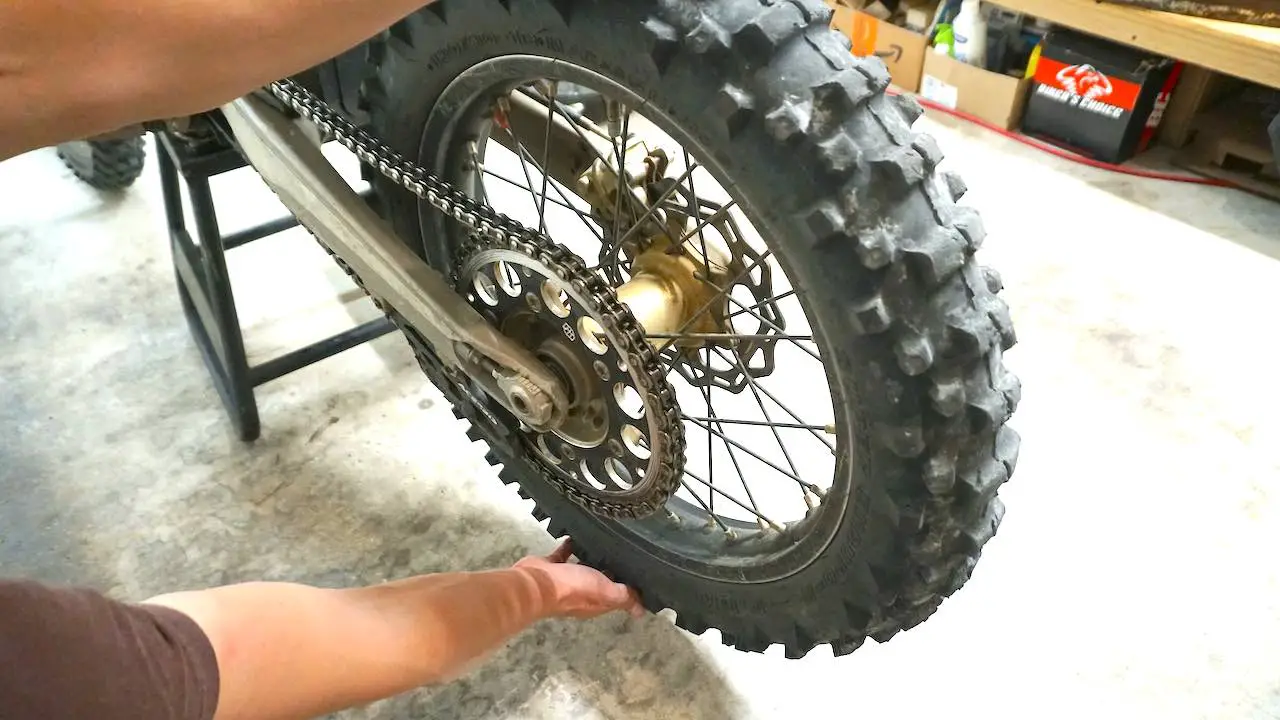
Finally, grab the wheel from the top and the bottom firmly. Push the top of the wheel while pulling the bottom of the wheel simultaneously. If you feel any movement, play or if you can visually see the wheel bearing move against the wheel axle, the bearings are worn out and you need to perform dirt bike wheel bearing replacement.
Another thing you can do is to rotate the rear wheel and check for any resistance. If you experience any drag or increased engine brake during riding, you can typically feel a rough rotation and high resistance when rotating the rear wheel by hand. This is usually the first thing that happens before it quickly turns into increased bearing play.
How To Test Wheel Bearing Play with Wheel Off the Dirt Bike
It’s a good practice to check the dirt bike wheel bearings play each time you remove the front or rear wheel off the dirt bike.
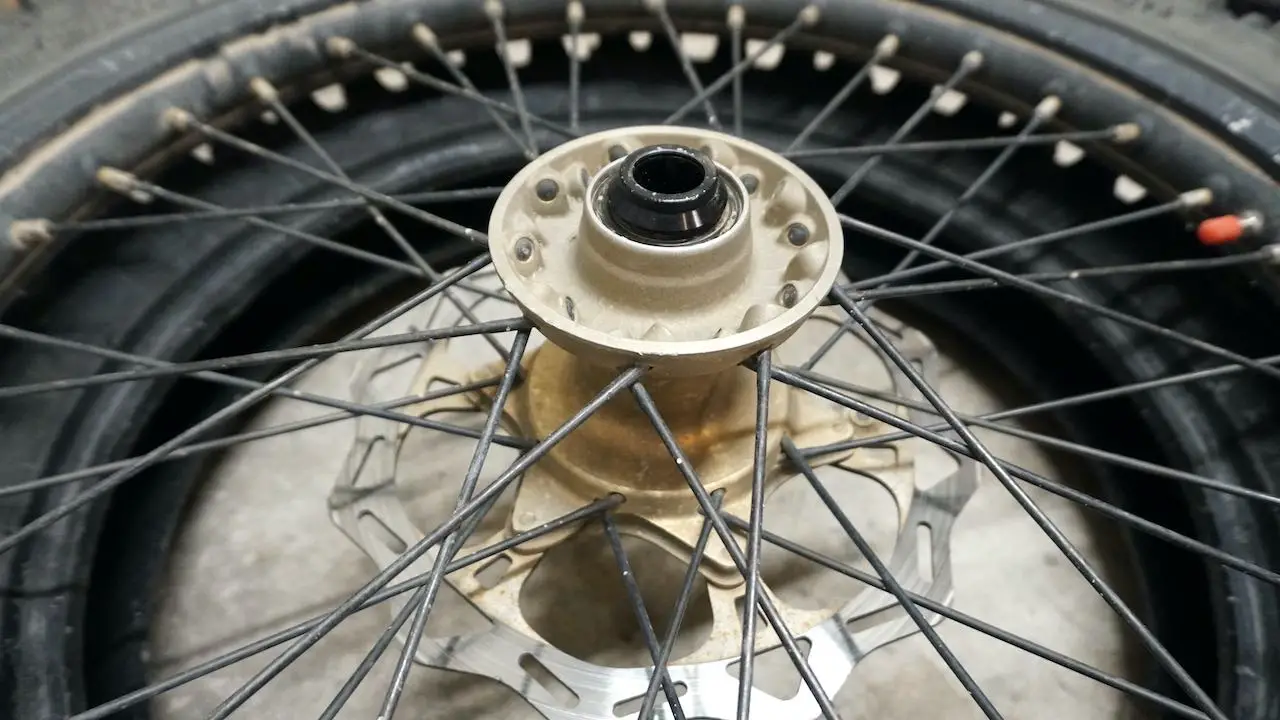
Once you have the wheel off the dirt bike, leave the spacer/collars in place. Next, rotate the collar and you will easily notice any roughness or play in the bearing. Furthermore, a worn out bearing is difficult to turn by hand or is very loose and has visible play. All these are signs that you need to continue dirt bike wheel bearing replacement.
How To Replace Dirt Bike Wheel Bearings in 10 Steps
This section features affiliate links. If you use these links to buy something we may earn a commission at no additional cost to you. As an Amazon Affiliate we earn from qualifying purchases.
Changing the dirt bike wheel bearings is quite easy and only takes about 30 minutes to complete per wheel.
The dirt bike wheel bearing replacement includes removing the dirt bike rear or front wheel off the dirt bike. Next you need to remove the wheel collars, retainer clip on the rear wheel, and the dust seals to expose the wheel bearings. Continue to push out the old wheel bearings and replace them with new ones. Regrease and replace new dust seals, wheel collars and reinstall wheels back on the dirt bike.
There are few tools and tips we recommend using for a smooth, quick and easy dirt bike wheel bearing replacement, which we will cover next.
Step 1: Prepare the Dirt Bike for Wheel Bearing Replacement
Let’s start the dirt bike wheel bearing replacement by making the installation of the new bearings easier.
To make the dirt bike wheel bearing replacement easier, put the new wheel bearings in the freezer before doing anything else. The temperature difference between a cold bearing and a heated wheel hub will make the installation much easier. No need to freeze the entire package, just the bearings need to be cold.
Begin by washing the dirt bike well and setting it on a center stand.
Position the dirt bike so that the front tire is not touching the ground. Additionally, you can set a wrench under the front of the skid plate to lift the front slightly.
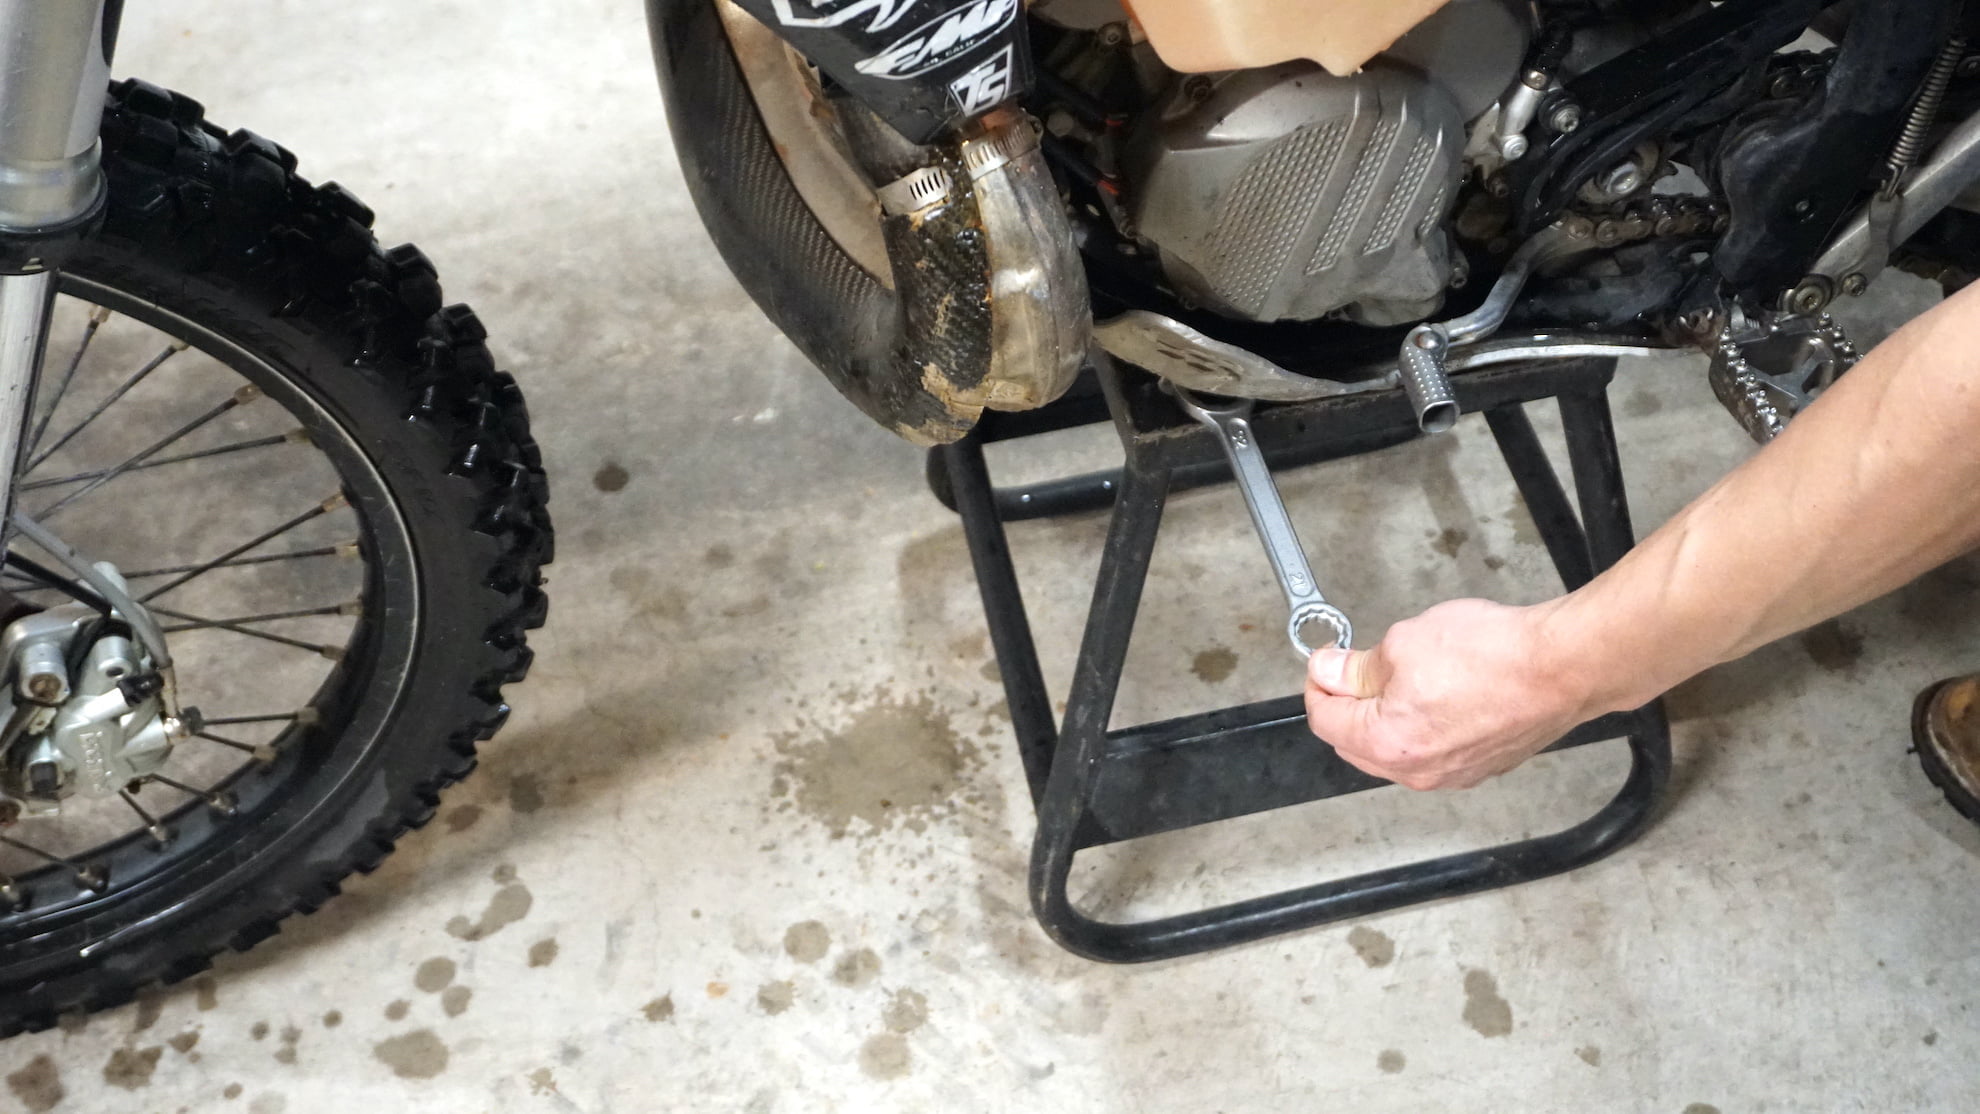
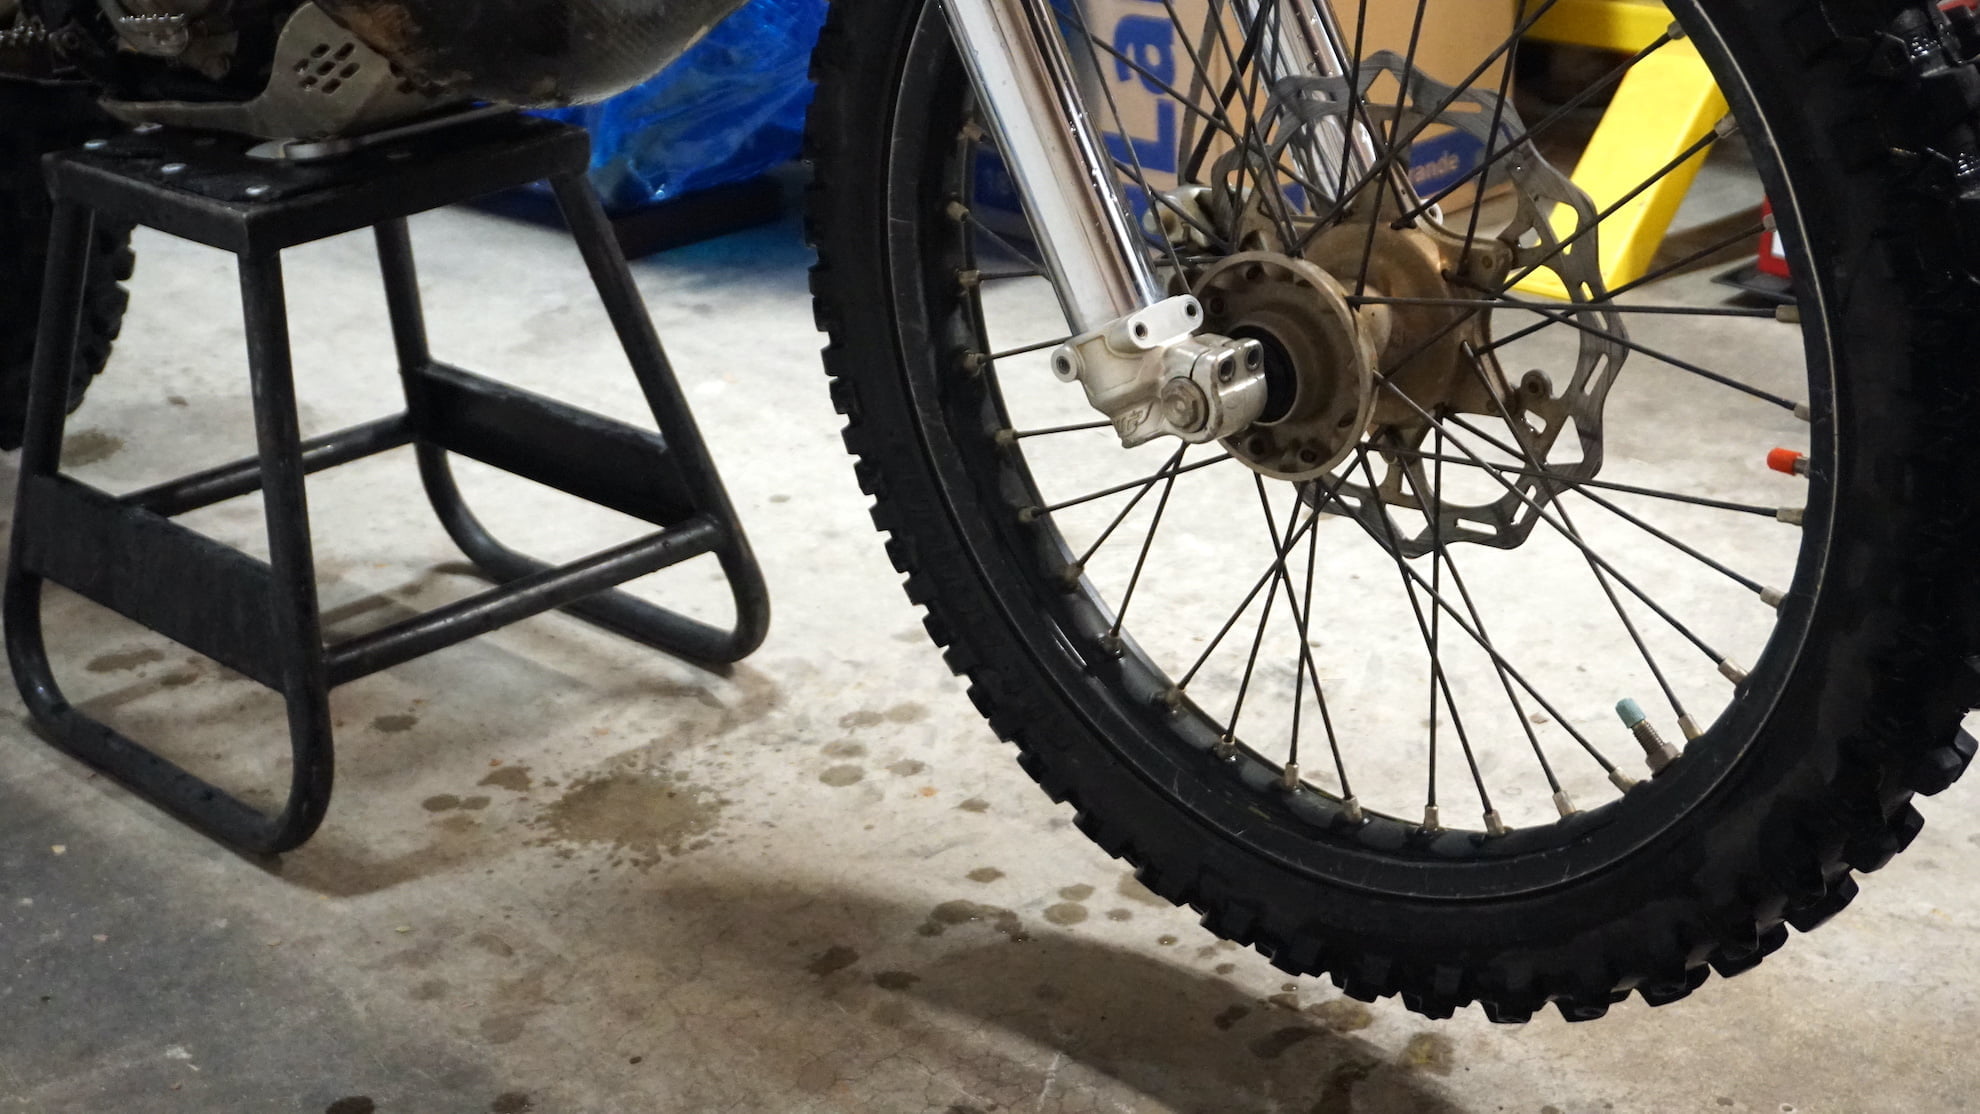
Inspecting and replacing wheel bearings is a simple process and will take roughly 30 to 60 minutes to complete per wheel. We recommend inspecting the bearings each time you change the tire.
The following tools will make the dirt bike wheel bearing replacement easier, but no special tools are required to complete this service.
- New wheel bearings, we use Pivot Works kit for our 2018 KTM XC-W 300
- Seal puller (a big flat head screwdriver will also work)
- Rubber mallet or a hammer to drive old bearings off and to insert new ones
- Metal rod or similar to push out old bearings or a wheel bearing removal tool
- Blow torch (not necessary) or a heat gun
- Waterproof grease
Step 2: Remove the Wheel
Remove the front or rear wheel so that you can inspect and replace the wheel bearings.
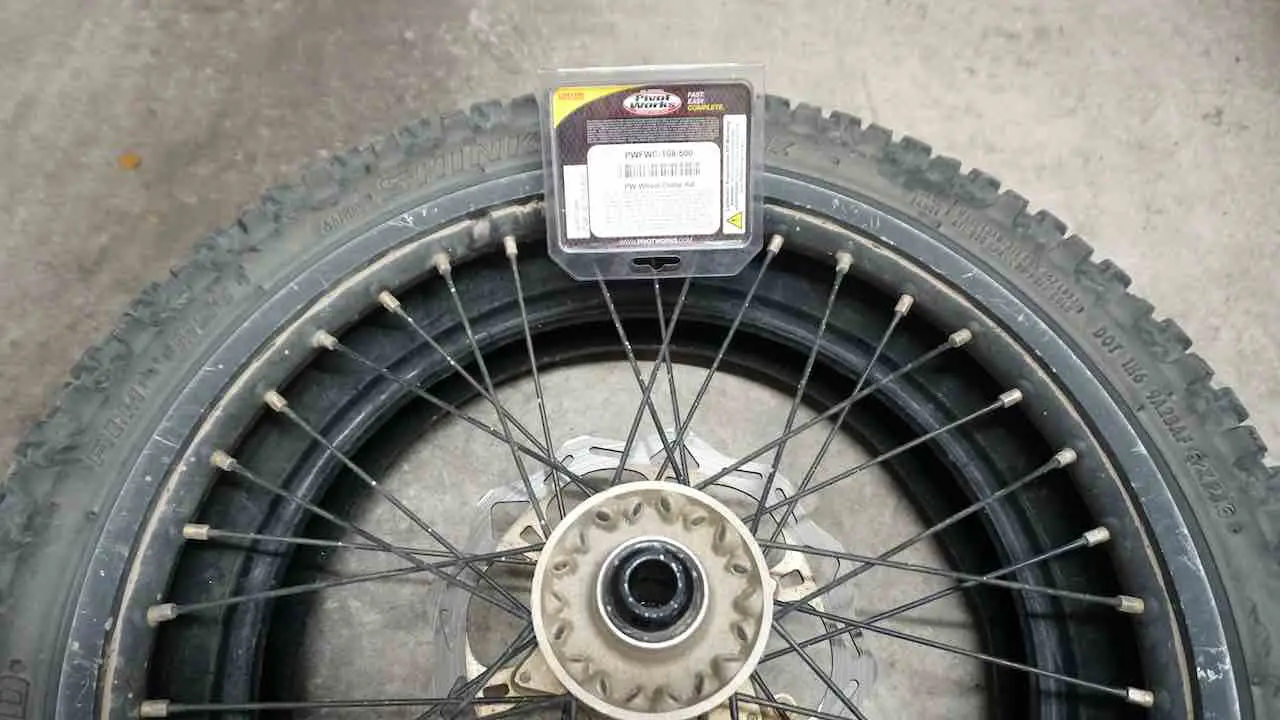
Place the wheel over a used or new tire to lift the tire off the ground. This prevents the brake disc or wheel hubs from damaging and makes it lot easier to work.
Inspect the wheel bearings by rotating the bearing with fingers. If you feel any roughness or resistance, they are worn out. Any roughness or play in the bearing indicates that the bearing is close to its lifespan and dirt bike wheel bearing replacement is recommended.
Step 3: Remove Bearing Collars and Dust Seals
Remove the bearing collars on both sides. If the bearing collars are stuck, you can use a screwdriver and nudge them from each side slowly to loosen them.

Next, take your time and carefully remove the dust seal. Flip the wheel and remove the dust seal also from the other side.
Use a seal puller or a large flat head screwdriver to pry off the dust seals. The new dirt bike wheel bearing kit or set comes with new seals, so don’t worry about damaging the seal itself.
However, be careful not to damage or scrape the wheel hub by sticking the screwdriver or seal puller against the wheel hub. Any marring or scratches will make dirt bike wheel bearing replacement more difficult as they increase the friction when pushing the new wheel bearings in.
Step 4: Remove the Retainer Clip
If you are replacing the rear wheel bearings, please note that rear wheels typically have a retainer clip under the dust seal on one side. It needs to be removed before the next steps and driving the wheel bearings out.
Use a small flat head screwdriver or clip pliers to pry the clip off. It is located under the dust seal and the bearing but it is sometimes hard to notice if covered with grease or dirt.
We usually begin the dirt bike wheel bearing replacement from the clip side. This ensures that we do not accidentally forget the clip in place and damage the hub when trying to remove the bearing.
Step 5: Remove Wheel Bearings
Once you have removed both dust seals (and the rear wheel retainer clip), position the wheel bearing spacer inside the wheel hub so that it exposes one side of the bottom bearing. This will allow you to place a push rod against the bearing and drive it out.
You can use a screwdriver or a push rod to push the spacer on the side to expose the bearing lip.
Continue placing the push rod inside the wheel hub and start driving the bearing out.
If you find the dirt bike wheel bearing replacement difficult, you can use this wheel bearing removal tool to make to job easier. It makes removing any bearing very easy.
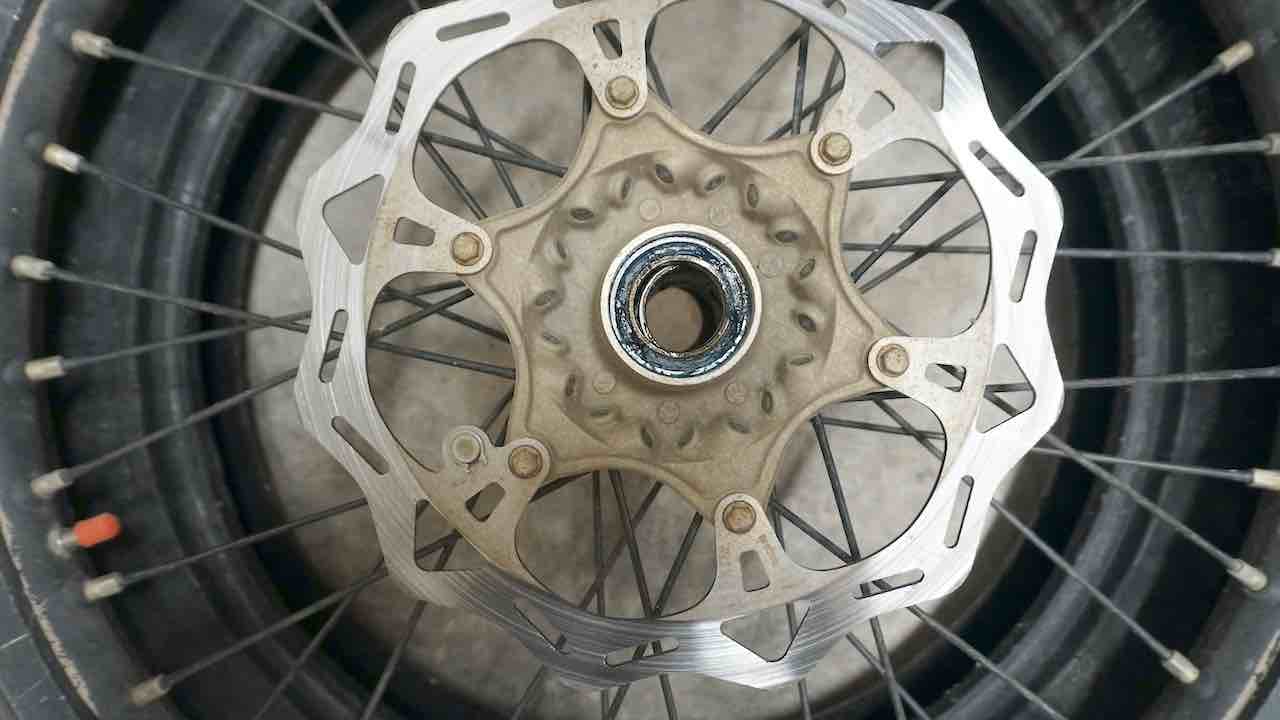
Be careful when positioning the rod inside the wheel hub so that it will only touch the outer side of the bearing. Avoid contact with the inside of the wheel hub and be careful not to damage the bearing housing area.
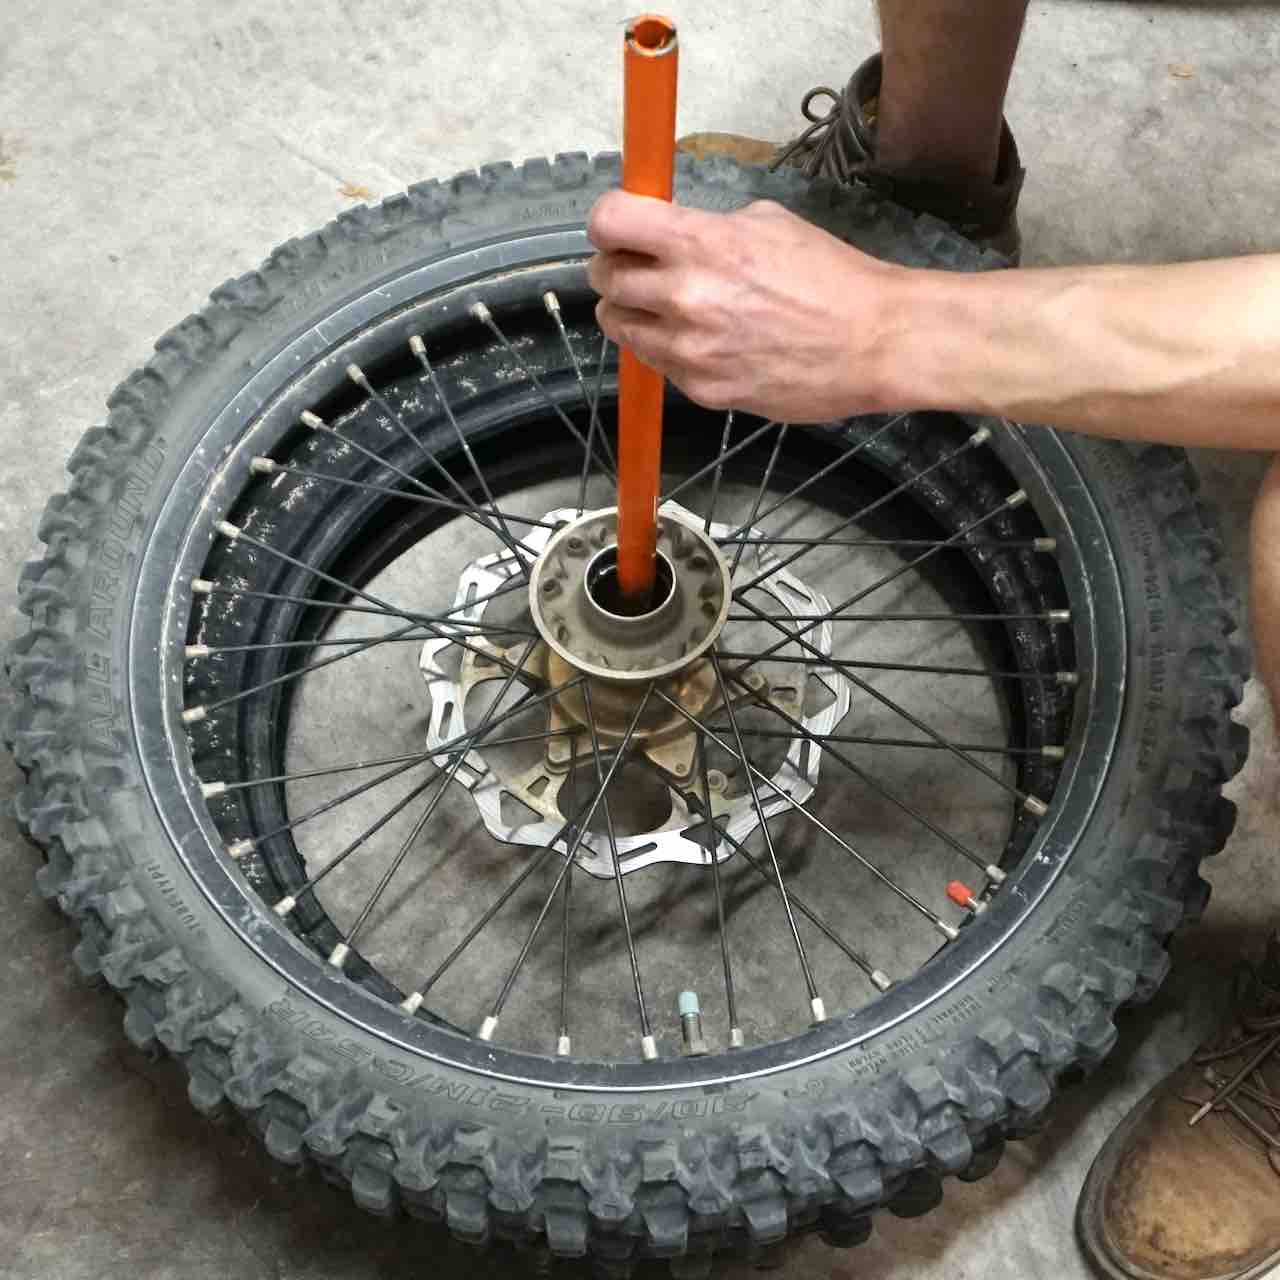
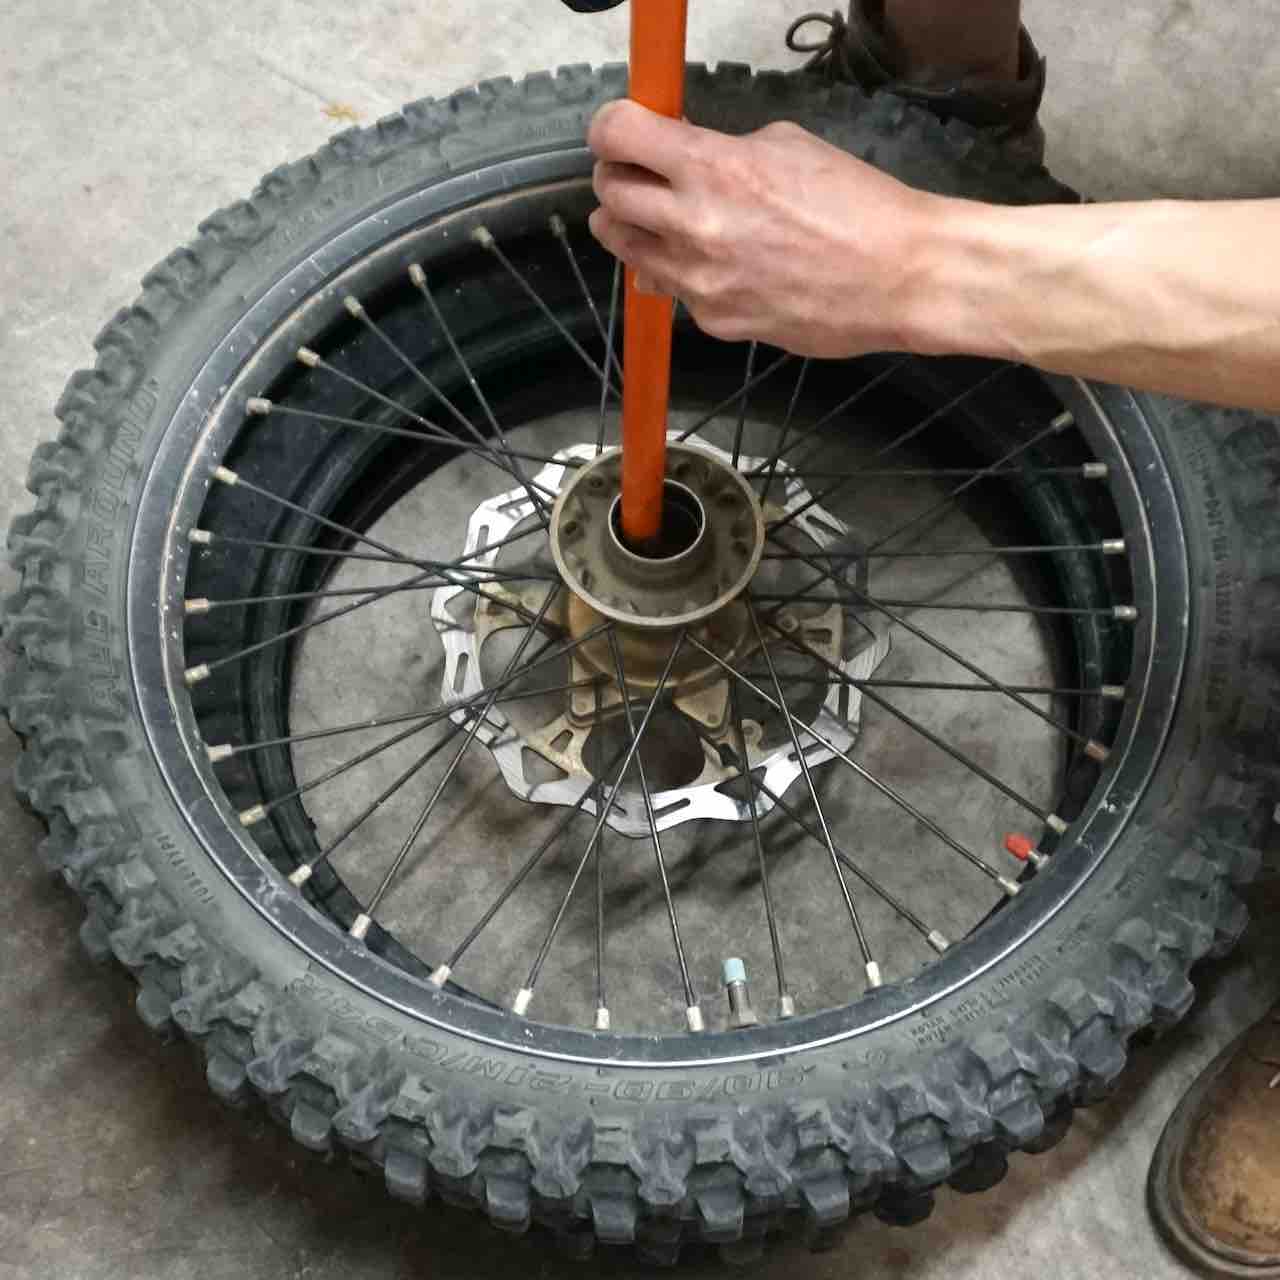
Continue tapping the push rod to drive the bearing out. Make sure to push it out straight by tapping the bearing from both sides evenly.
Now, flip the wheel and continue on the other side in order to complete the wheel bearing removal.
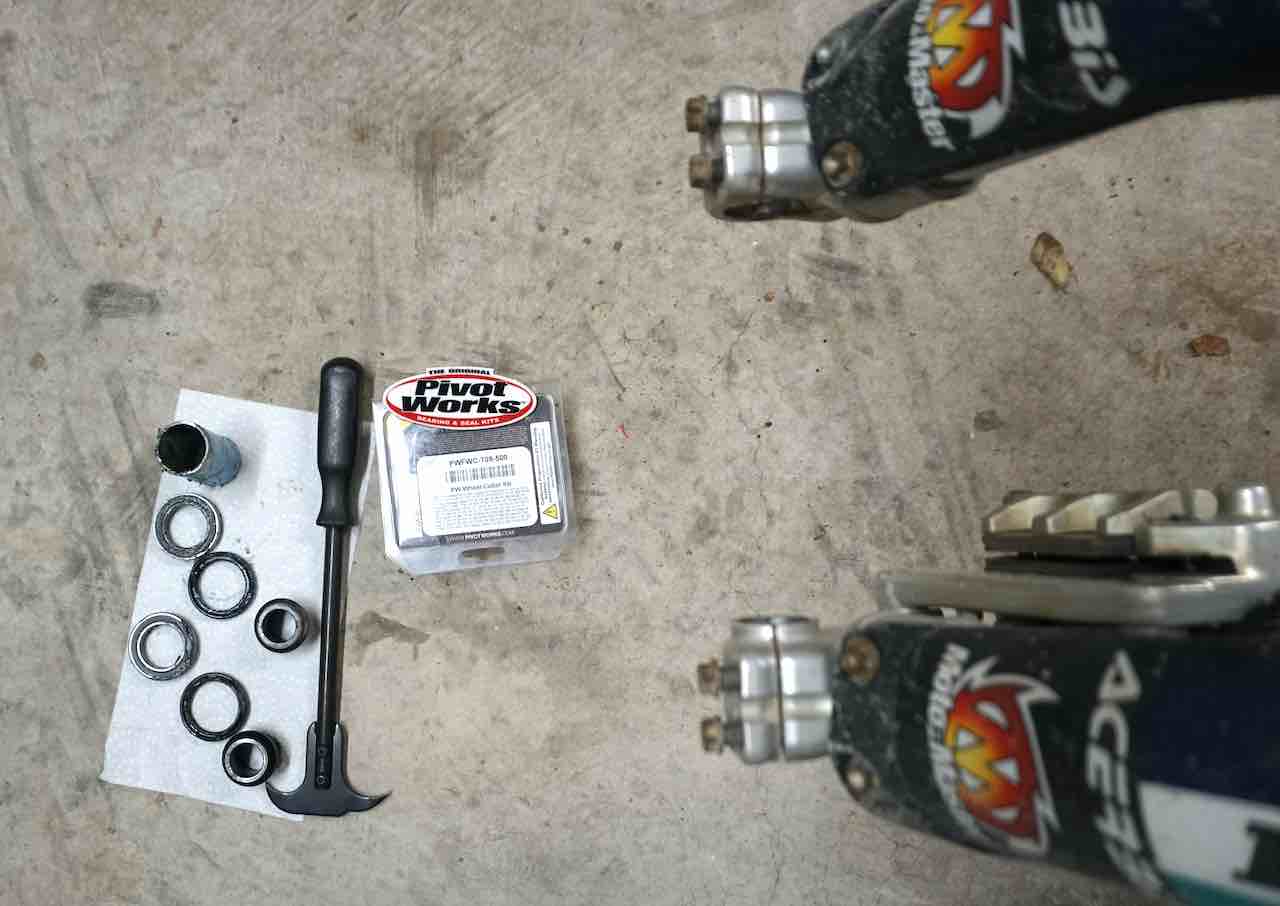
Step 6: Clean the Wheel Hub
Now it’s time to clean the wheel hub thoroughly and inspect the bearing housing for any scratches.
Use a small pick tool or screwdriver to completely remove any dirt and dust inside the hub and the bearing housing area.
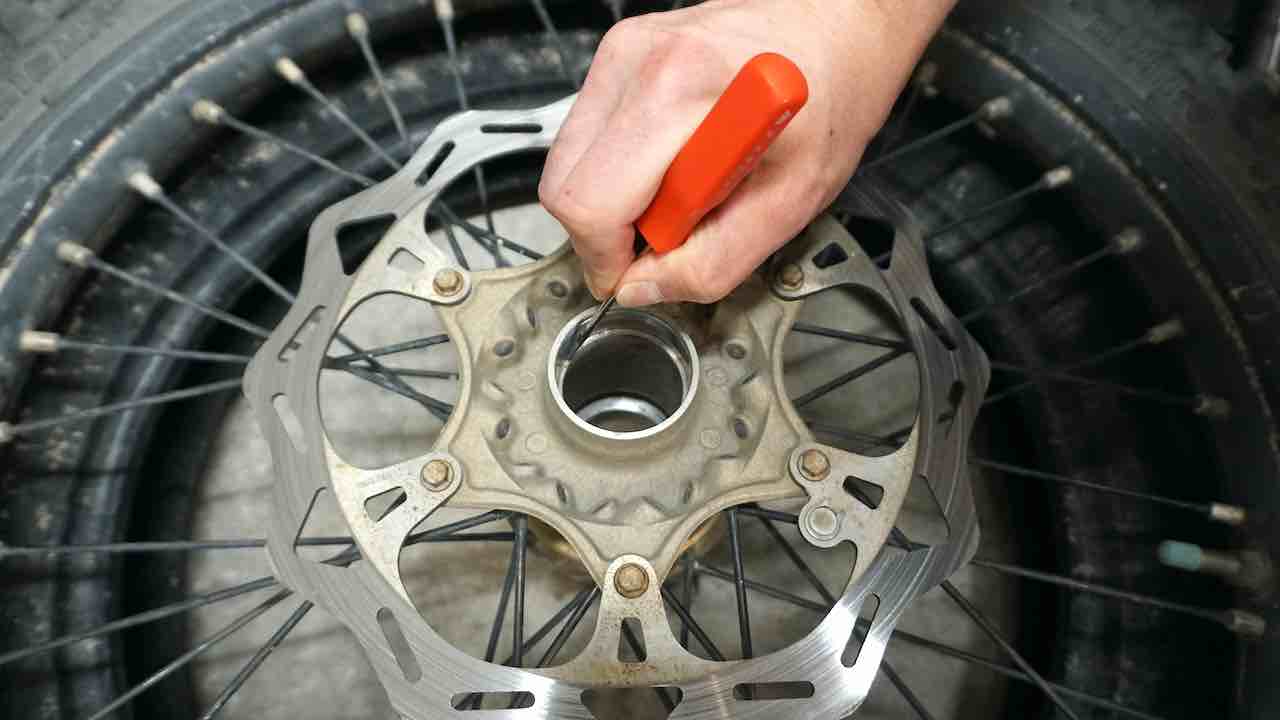
It’s important to clean the wheel hub thoroughly. This allows an easy installation and provides a good seal.
If you see any scratches inside the housing, use a 200 grit or finer grade sandpaper to smoothen areas that may prevent the new bearings from sliding in. Be careful not to sand too much and thus making the housing larger. The goal is only to smoothen the surface. A smooth hub surface will make dirt bike wheel bearing replacement easier.
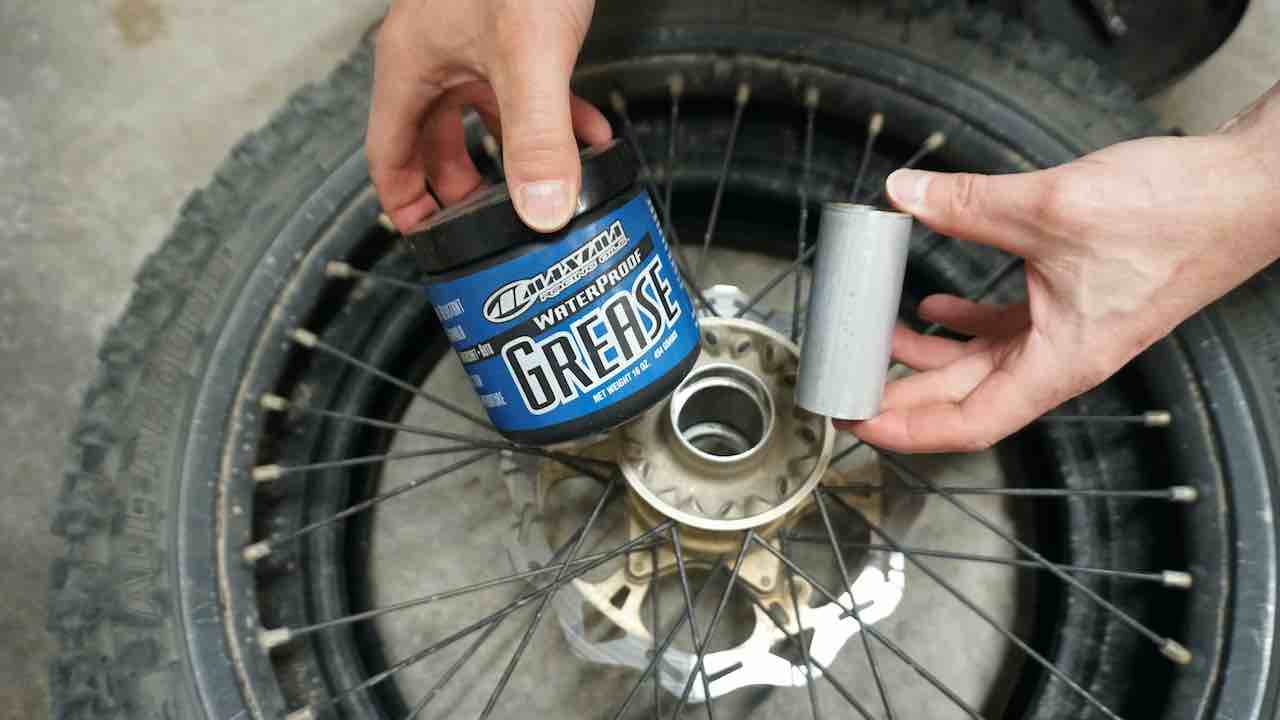
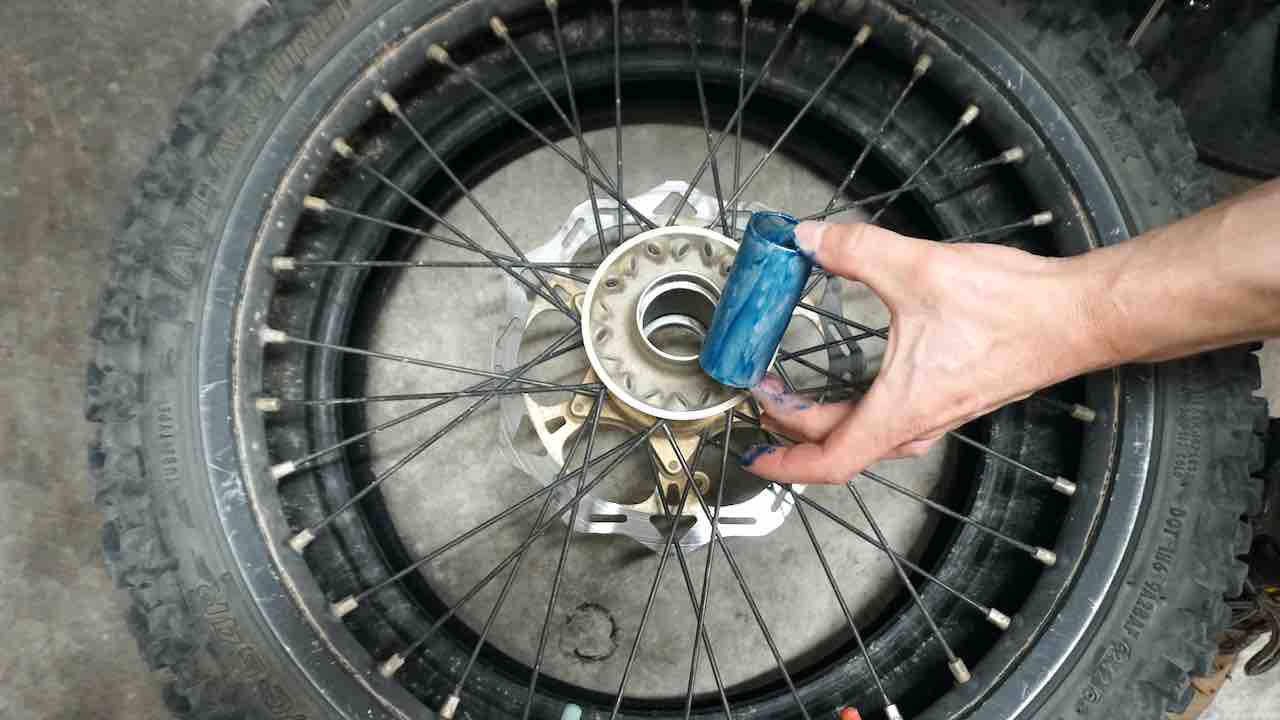
After cleaning, it is time to apply waterproof grease on the wheel bearing inside spacer.
The grease helps preventing corrosion as well as dust traveling inside the wheel hub.
Apply grease generously inside and outside the spacer. The grease on the inside prevents the wheel axle from sticking and being corroded.
Apply a small amount of grease inside the bearing housing and on the new bearing to make the installation easier.
Step 7: Install New Wheel Bearings
This step requires a little planning and timing. At this point, your new set of bearings should be in the freezer. If not, take a coffee break and let the new bearings cool down at least 15 minutes prior to installation.
Next, we are going to heat the wheel hub and then quickly insert the new bearings in place to continue the dirt bike wheel bearing replacement.
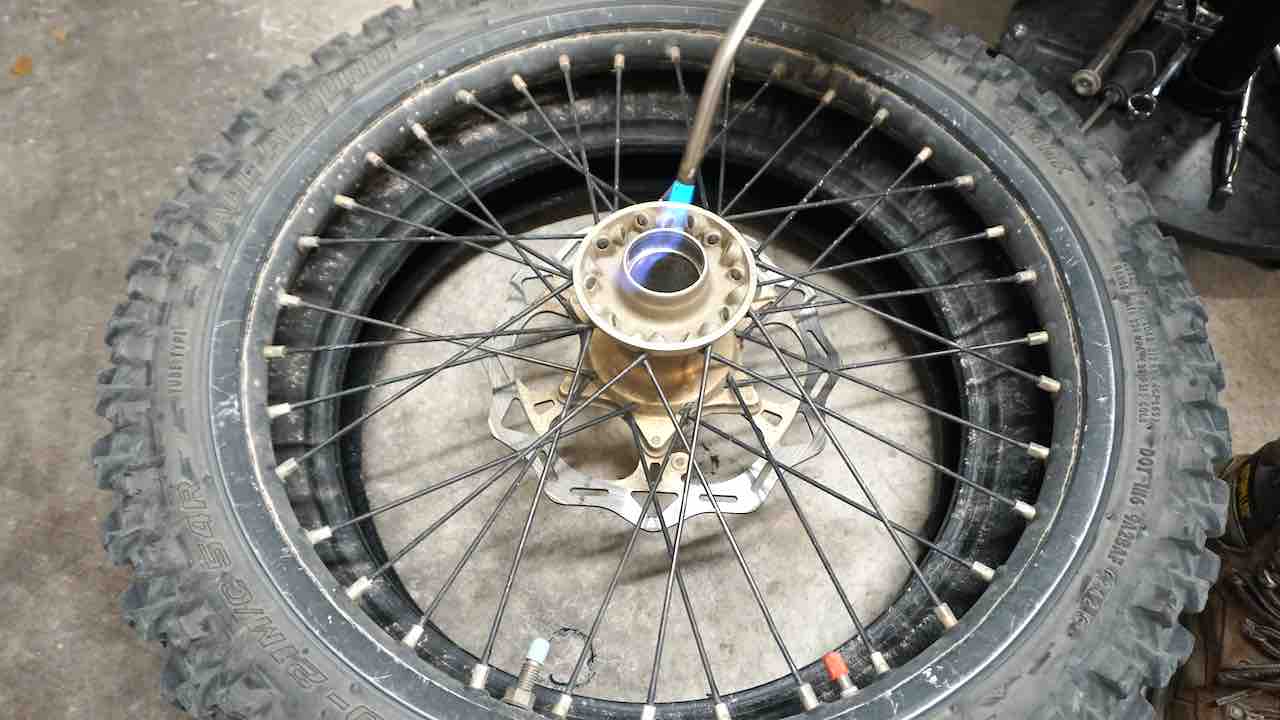
The temperature difference between the wheel hub and the bearing will drastically make the installation easier.
Heat the wheel hub evenly and slowly avoiding excessive heat. Take one bearing out of the freezer at a time to maximize the heat difference.
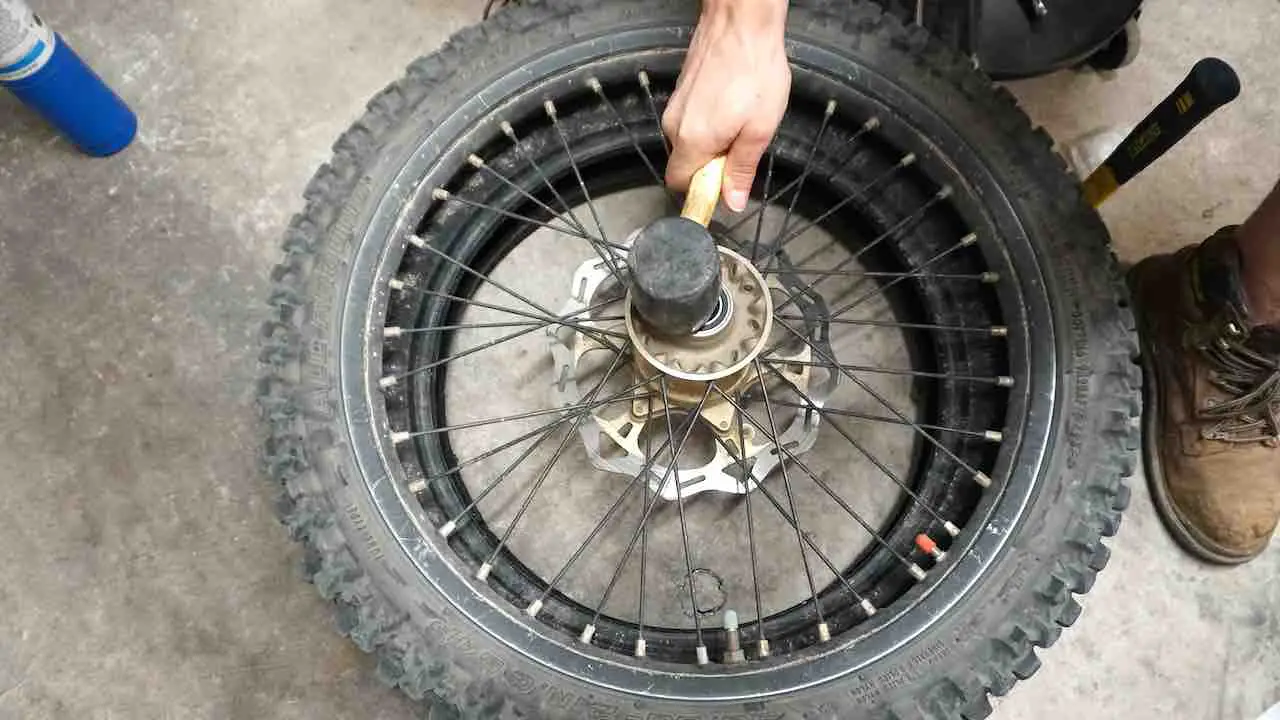
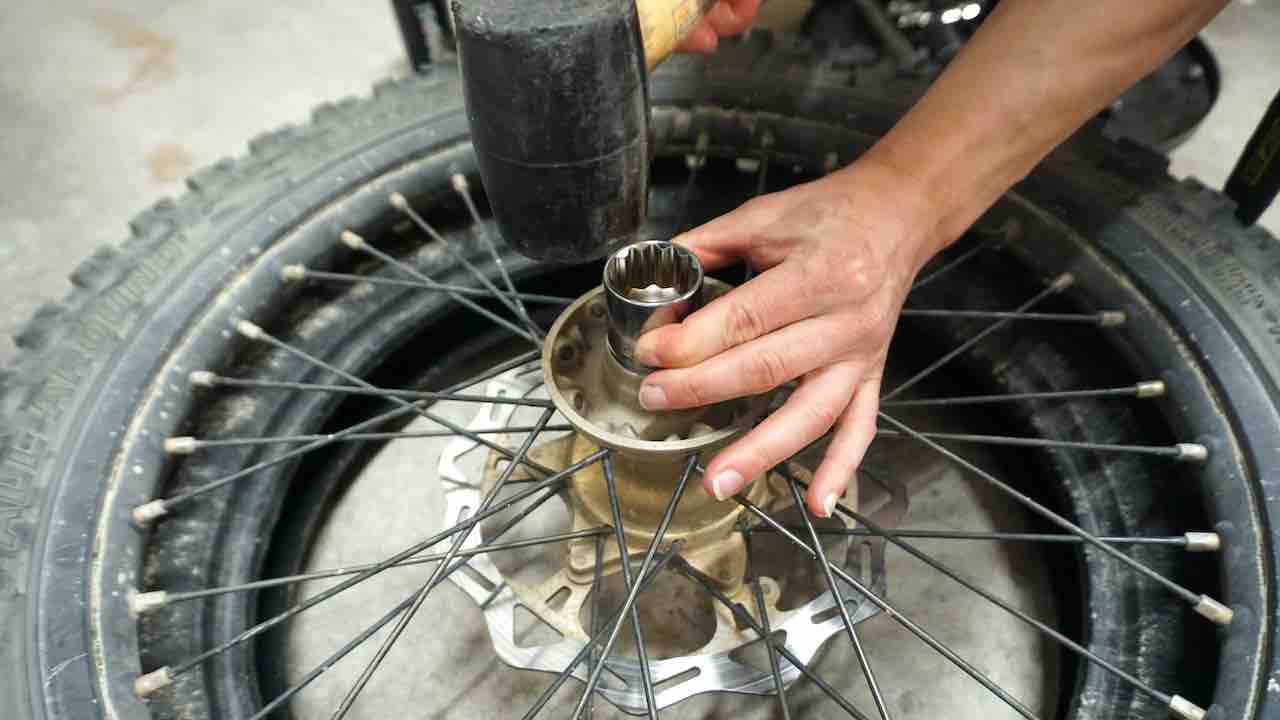
Once the hub is warm to touch, place the cold and slightly greased bearing directly from the freezer in place and tap it in with a rubber mallet.
Make sure you’re driving it in slowly and straight. You can use the old bearing to double up on top of the new one to make sure the new bearing goes in straight.
Once the bearing is in level with the wheel hub, you can use a large socket or a similar spacer that is slightly smaller than the wheel hub to get the bearing all the way in. Make sure you are tapping the bearing in by alternating the sides to drive it in straight.
Once the bearing is seated all the way in against the lip, the tapping sound will change noticeably. Now, stop and check that the bearing is fully seated and straight.
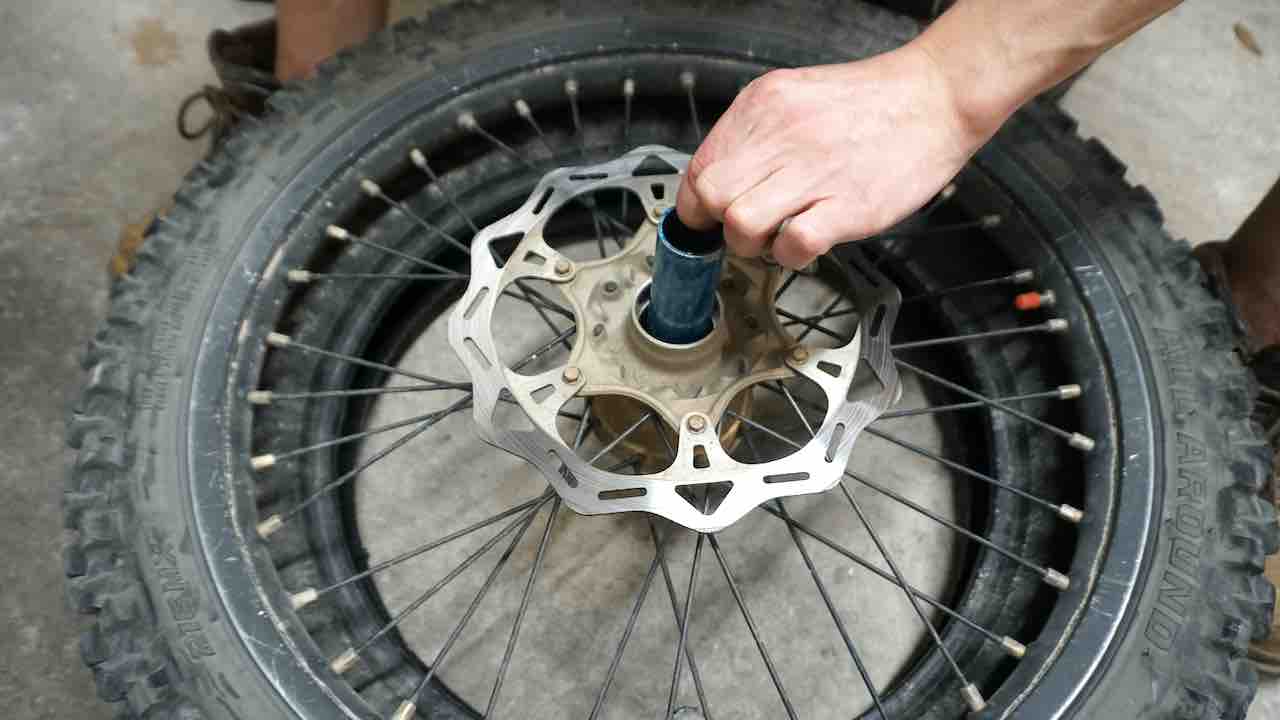
Next, put the spacer in place. Remember to do this before installing the other bearing for you are not able to install the spacer if both bearings are already in place.
Once the spacer is in place, you are ready to install the other side wheel bearing. Heat the wheel hub and repeat the installation process to complete dirt bike wheel bearing replacement.
If you’re installing the rear wheel bearings, do not forget to install the retainer clip before moving forward to the next step.
Step 8: Install New Dust Seals and Collars
Prepare new dust seals by greasing the inside groove thoroughly. Make sure to apply grease generously to fill the area in order to prevent dirt and water traveling past the seal.
Push the dust seal in place by hand. It should level with the wheel hub.
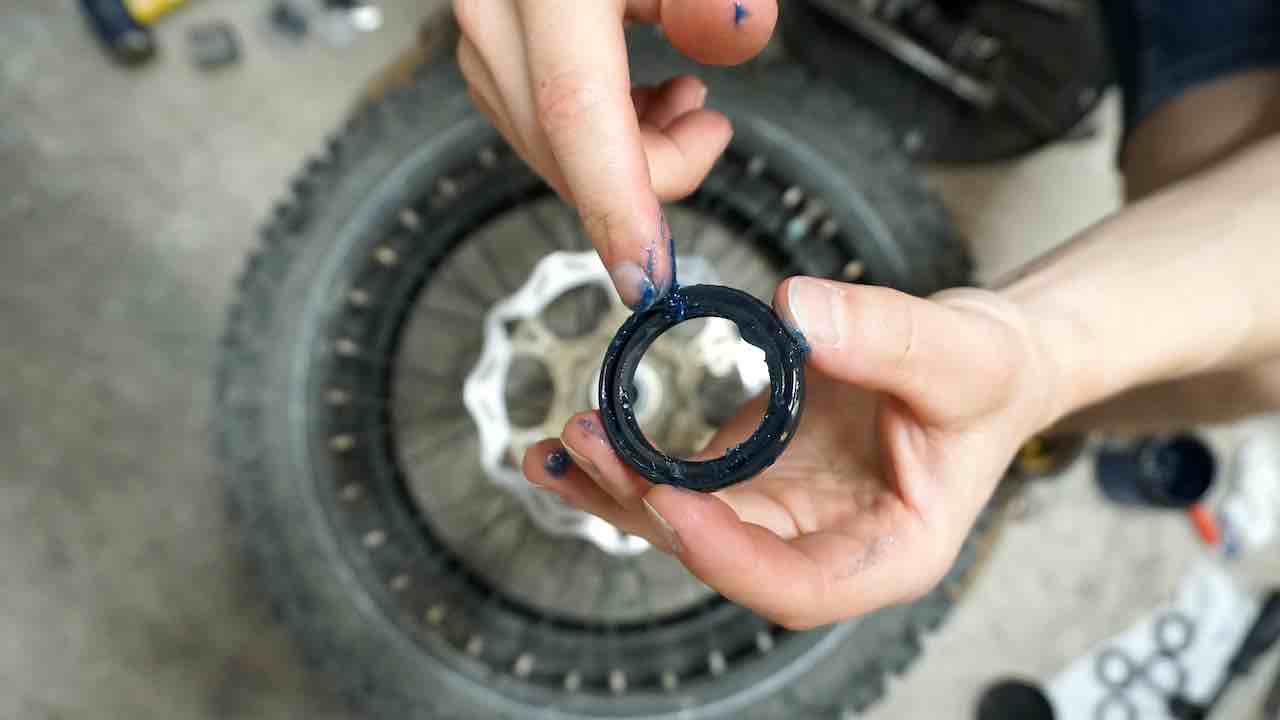
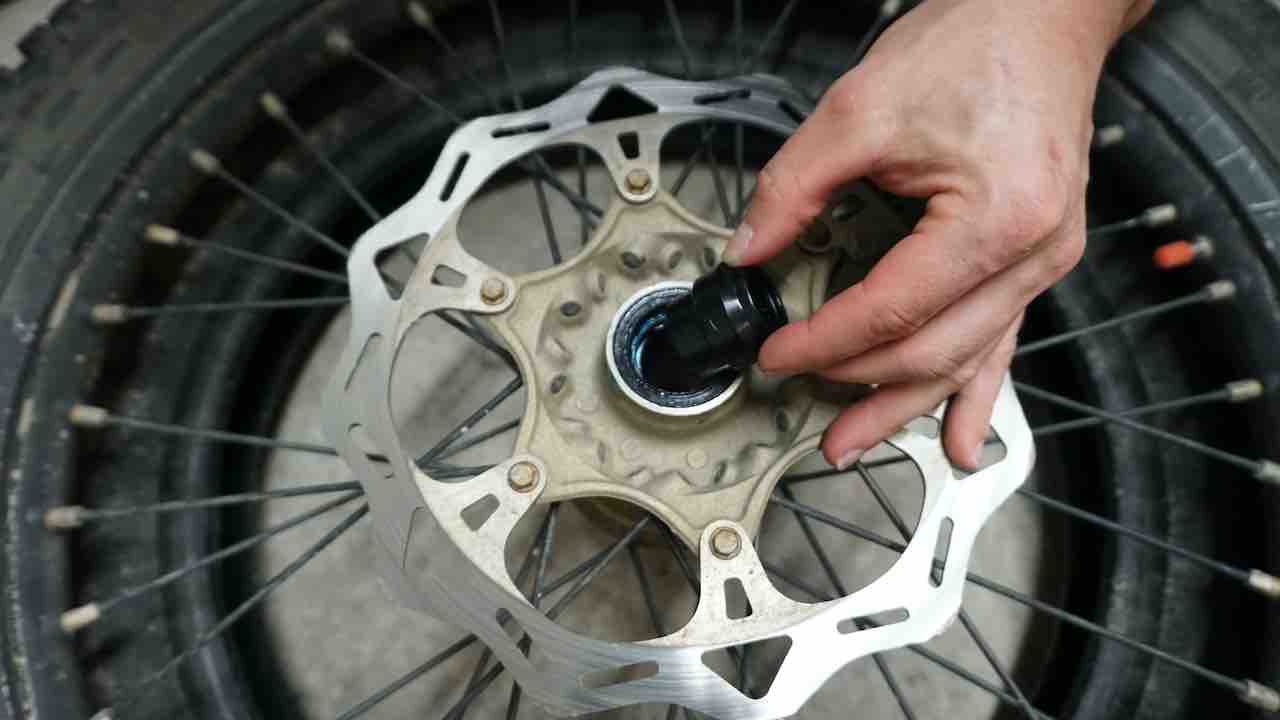
Grease the collar and push it in place. Check that the collar and bearings are rotating freely without any resistance.
Step 9: Regrease the Wheel Axle
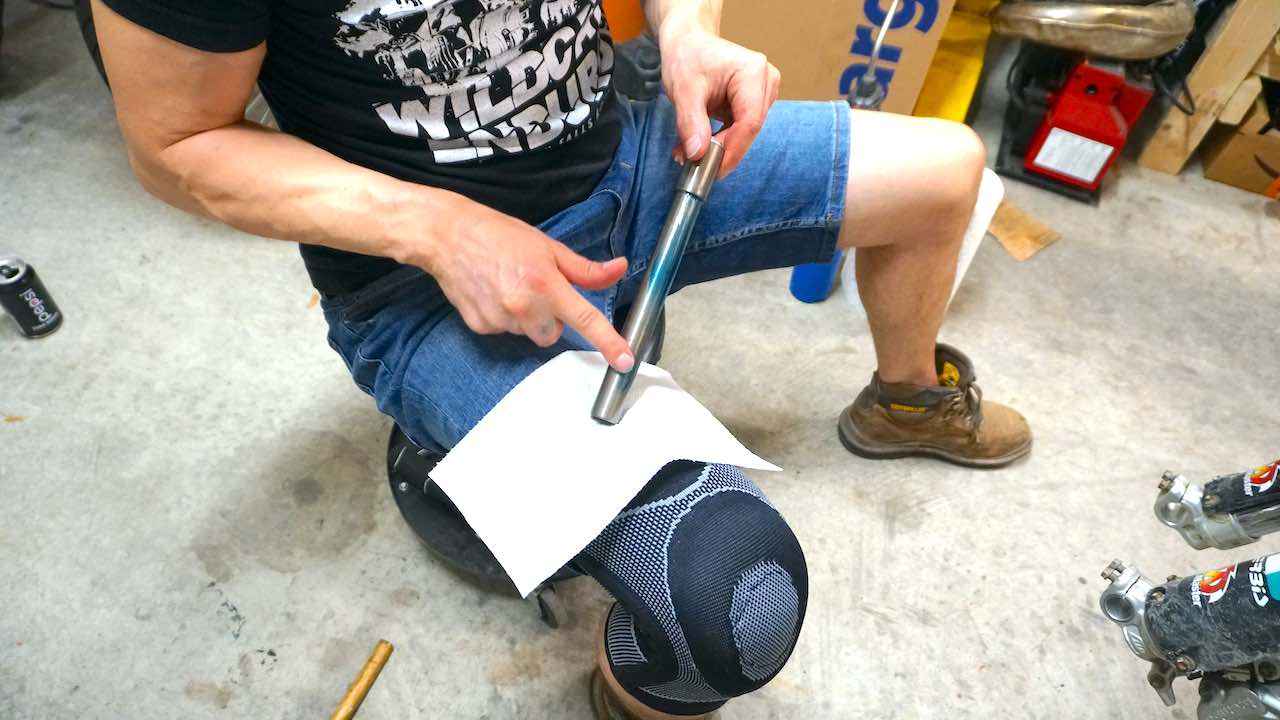
Next, apply a thin film of the waterproof grease to the wheel axle. The grease prevents water and dirt traveling to inside the wheel hub and it also prevents the axle from corrosion. The next dirt bike wheel bearing replacement will be easier and rust free. We recommend re-greasing the collar and dust seals as well as the axle each time you remove the wheel. This extends the bearing lifespan requiring less frequent dirt bike wheel bearing replacement cycle.
Step 10: Reinstall the Wheel to Complete the Dirt Bike Wheel Bearing Replacement
Reinstall the front wheel by following good practices to make sure the forks are not binding.
You can find detailed instructions on how to correctly reinstall the front wheel and tighten the front fork bolts after wheel removal in our article; how to align dirt bike forks – aka twisted forks.
If you are installing the rear wheel, make sure to align the rear wheel straight and check the chain free play.
This completes the dirt bike wheel bearing replacement.
Our Wheel Bearing Recommendations
Check manufacturers warranty. Some manufacturers like All Balls Racing and Pivot Works offer lifetime replacement warranty. It usually means that if you need to replace them, you will get a new pari for free one time per purchase. For us who ride a lot, this lowers the overall maintenance costs.
Also, these kits have much more improved sealing capability and are using better improved collar design. The kit also includes extra o-rings that you can replace when changing wheels.
We highly recommended these wheel bearing and collar kits by Pivot Works. After each dirt bike wheel bearing replacement, we call them up for a free replacement kit so that we always have one set handy when needed.
Conclusions
A dirt bike wheel bearing replacement may sound intimidating or a difficult task to complete. But it actually is quite simple.
Check the wheel bearing play each time you change a tire or remove the wheel from the dirt bike. It only takes a minute and helps to plan ahead when you need to replace the wheel bearings.
Smooth rolling!
Read next:
