One thing that is certain when you hop on the dirt bike and hit a trail or track: both you and your bike will get dirty. There’s no way around it. And at the end of the day, you need to wash your dirt bike.
In this post, we will discuss the following topics:
- Tools needed for washing a dirt bike
- 6 steps for how to wash a dirt bike
- What to avoid when washing a dirt bike
- Extra dirt bike washing tips
Now let’s get started and take a look at our tips for how to wash a dirt bike the right way without damaging the bike.
This post features affiliate links. If you use these links to buy something we may earn a commission at no additional cost to you. As an Amazon Affiliate we earn from qualifying purchases.
Tools Needed for Washing a Dirt Bike
In any kind of project, having the right tools is essential and washing a dirt bike is no exception. We did the job for you and searched for the best products for cleaning a dirt bike. So look no further!
We personally use all these products or similar ones listed and linked below and we like them a lot. They make it easy to wash a dirt bike—and frankly that’s something all dirt bike riders can surely appreciate.
Here is a list of the tools that you will need when you wash a dirt bike:
- Airbox wash cover
- Exhaust wash plug
- Pressure washer
- Dirt bike stand
- Mud scraper
- Soap solution, such as dirt bike cleaner
- Spray bottle
- Soft brush
- Detailing brush
- Drying cloth
- Chain lube
Now that you know what tools you will need for washing a dirt bike, let’s go through step by step how to wash a dirt bike.
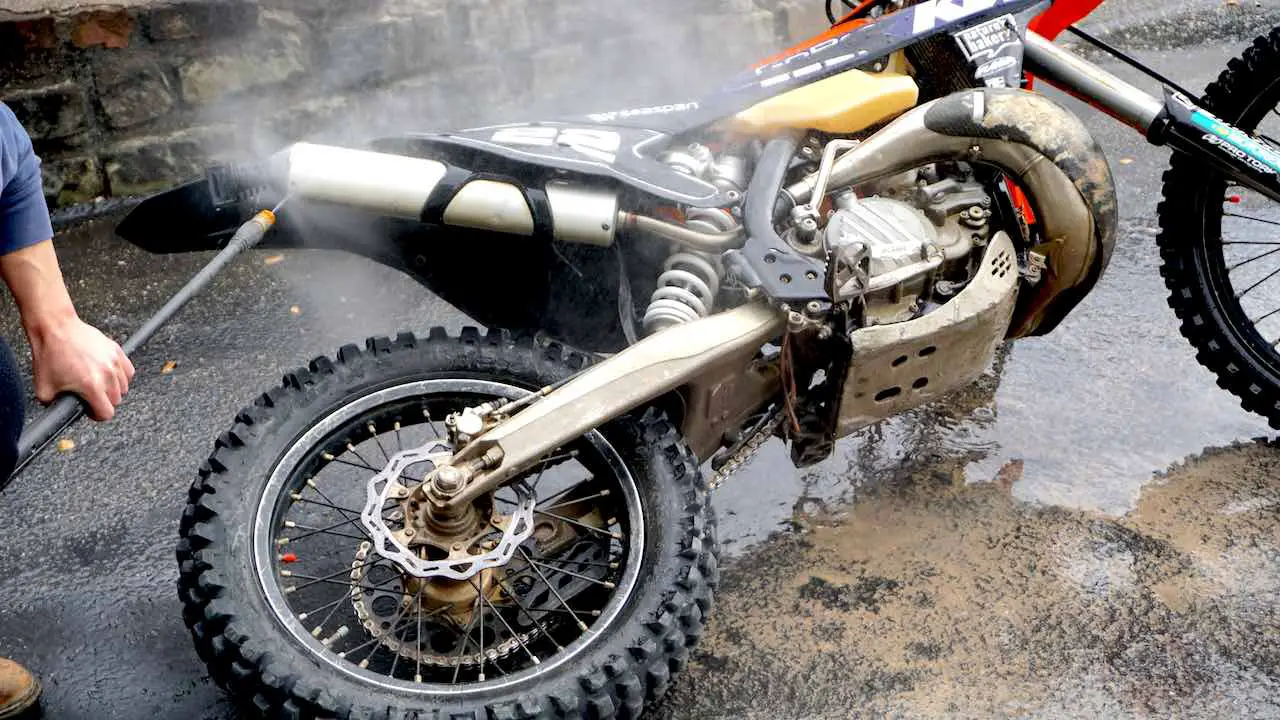
6 Steps for How To Wash a Dirt Bike
With a proper maintenance and cleaning, modern dirt bikes will last a long time. And when you regularly wash your dirt bike, this will help to prevent excessive wear and tear of the bike. In the process, you will also you notice any worn out and damaged parts.
Basically, you should wash your dirt bike after every ride. The best way to wash a dirt bike is to do it in steps. When you follow these step-by-step instructions, washing your dirt bike will be a breeze and you will not leave any important parts dirty, or worse, damaged.
1. Prepare the Dirt Bike for Washing
Depending on how dirty and muddy your dirt bike is, consider removing few parts to make cleaning of the dirt bike easier.
Sometimes it is necessary to remove some parts of the bike, such as the pipe guard, skid plate, and seat, so that you will be able to access and clean the dirt bike better.
We advise removing the seat at the least, since you don’t want to soak the inner foam material each time you wash the dirt bike. This also allows you to clean the underside and remove dust and debris under the seat.
Always remember to remove the air filter and replace it with an airbox wash cover. It will prevent dirt and water from getting into the airbox and air intake. If you don’t have one yet, we recommend getting this airbox wash cover (check the current price on Amazon). We have the exact same dirt bike air filter cover and ours has lasted already for several years.
Also, remember to plug the exhaust with a muffler plug to prevent water from getting inside the exhaust silencer. We prefer a dirt bike wash plug with a “remove before flight” streamer (check the current price on Amazon). This way, you won’t forget to remove the wash plug before starting the dirt bike.
2. Rinse Off Excessive Dirt and Debris
Before placing the dirt bike on the center stand for a thorough wash, rinse off excessive mud and dirt with a water hose. Then let it soak for five minutes to soften the dirt. The goal is to soak the sand and mud and let most of it drop off the dirt bike.
If you have managed to get large chunks of dried mud on your dirt bike, you can remove those by hand before you start rinsing and getting the bike wet. If needed, you can also use a rubber mallet to gently tap them off. Do not use any sharp tools that could scrape the surfaces. The idea is just to get the biggest lumps off.
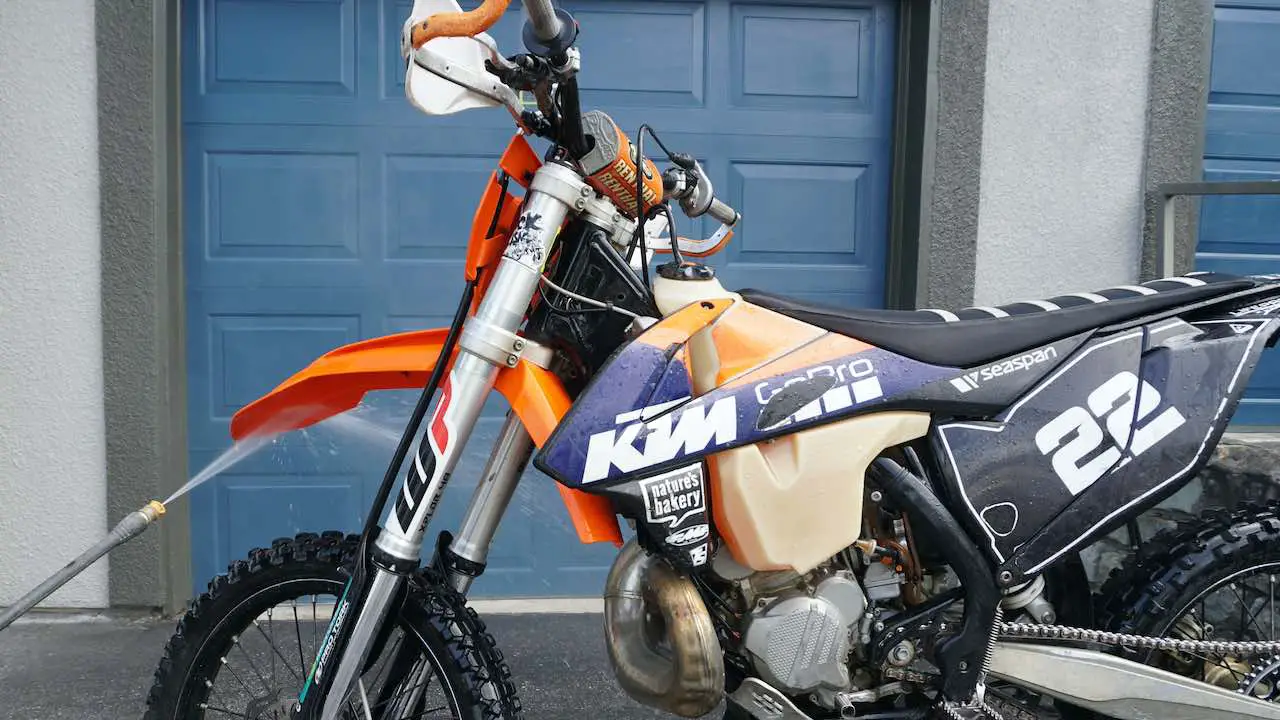
Next, use a pressure washer or a water hose to remove most of the thicker sand, mud, and debris. You want to remove most of the dirt before scrubbing and using soap.
Using a pressure washer definitely divides opinions. However, we personally like using one when we wash our dirt bikes because, in our experience, it considerable speeds up the cleaning process. However, you need to be careful not to blast the water certain parts of the bike (we will cover everything in detail in the next chapter). In addition, using a 40-degree nozzle is recommended as it offers both the most gentle spray that is safer for your bike and the widest spray that helps with covering a larger area more quickly.
In addition to using a pressure washer or a water hose, you can also use a mud scraper or a stick to remove larger mud and sand lumps for quicker results. Just remember that the dirt needs to be wet or otherwise the mud scraper can scratch the plastic.
Rinsing off will almost guaranteed make a mess, so pick a good location for where you wash the dirt bike. Grass will soak up the dirt and water better compared to washing the dirt bike on tarmac or driveway. When you wash the dirt bike on grass, this will prevent the detergents, oil, grease, lubricants etc. from washing into the street and into the stormwater. Using biodegradable detergents is even better for the environment.
Next, lift the dirt bike on the center stand. Start from the top of the dirt bike and rinse off the handlebar and seat areas as well as fairings and work your way to the engine area.
Finally, rinse off all dirt from fenders and under the dirt bike.
3. Soap and Scrub
Once most of the dirt has come off the dirt bike, it’s time to apply the soap.
Now, what to use to clean your dirt bike? You should use a mild detergent to wash your dirt bike. Typically, there is no need to use an expensive dirt bike cleaner. Most automotive soaps are good for dirt bikes. In addition, you can clean a dirt bike with dish soap. In fact, a dishwashing liquid is a great option for cleaning mud, dirt and, other debris from your bike as it won’t scratch or scuff plastic parts or leave a film on metal parts.
Add the soap solution of your choice into a spray bottle and start washing the dirt bike. Spray the soap solution directly onto the bike. Soap and scrub with a soft brush one section at a time. Remember not to let the soap to dry up before rinsing it off.
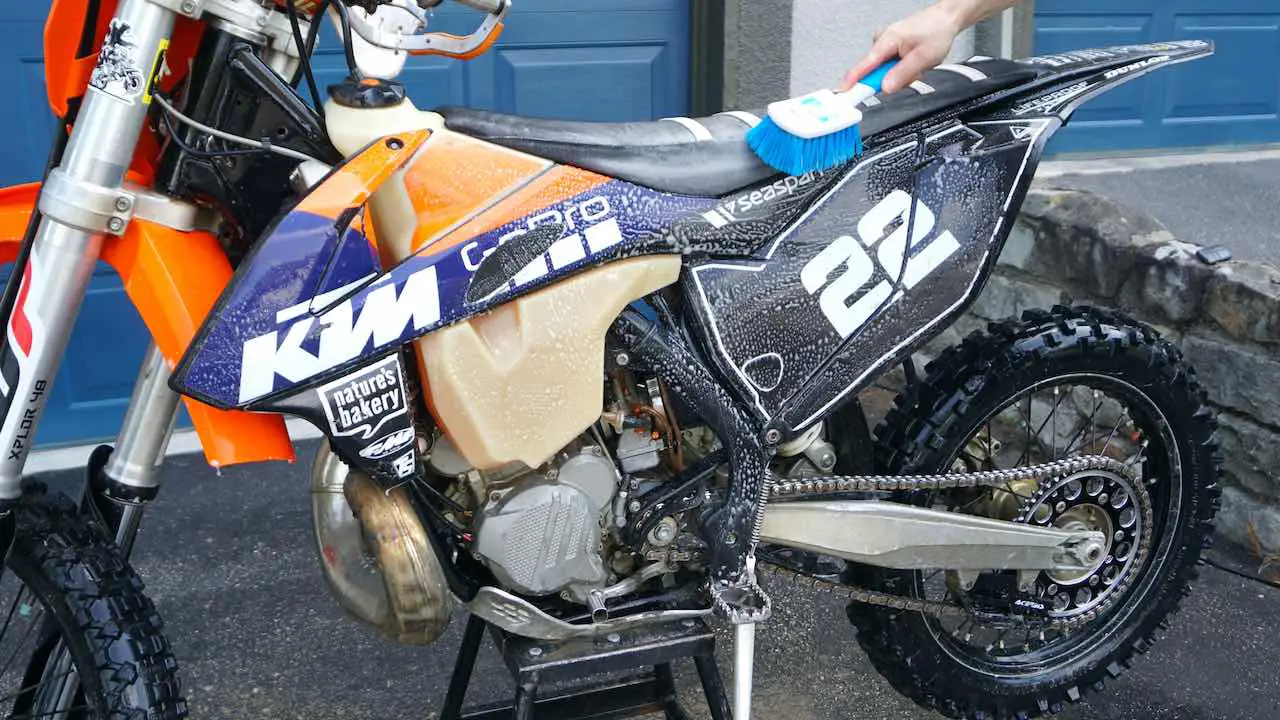
Some areas are difficult to reach when washing the dirt bike. You can use a small brush or a cloth to clean hard-to-reach places where dirt seems to get stuck and won’t come off easily.
We strongly recommend getting a dirt bike cleaning or detailing kit for the job. It comes with several different sized detailing brushes that make it easier to hit those narrow or tight spaces. Dirt bike detailing is what makes the biggest difference in keeping dirt build-up to minimum and your dirt bike in good condition.
This is the cleaning kit (check the current price on Amazon) we regularly use for dirt bike detailing with great success. We like it that you can attach some of the brushes to a drill, which makes the cleaning much more efficient. If you don’t have a power drill, check these other detailing kits here.
Whatever you do, don’t try to cheat and blast things off with pressure washer when you clean a dirt bike. That way, you will only end up damaging your dirt bike in areas that cannot take the direct exposure and require a more gentle washing.
4. Rinse Off Carefully
After thoroughly cleaning all areas of the dirt bike, rinse off any soap and investigate the results. Make sure that there’s no mud or dirt in those hard-to-reach places. If you still see any dirt or mud, you need to scrub again.
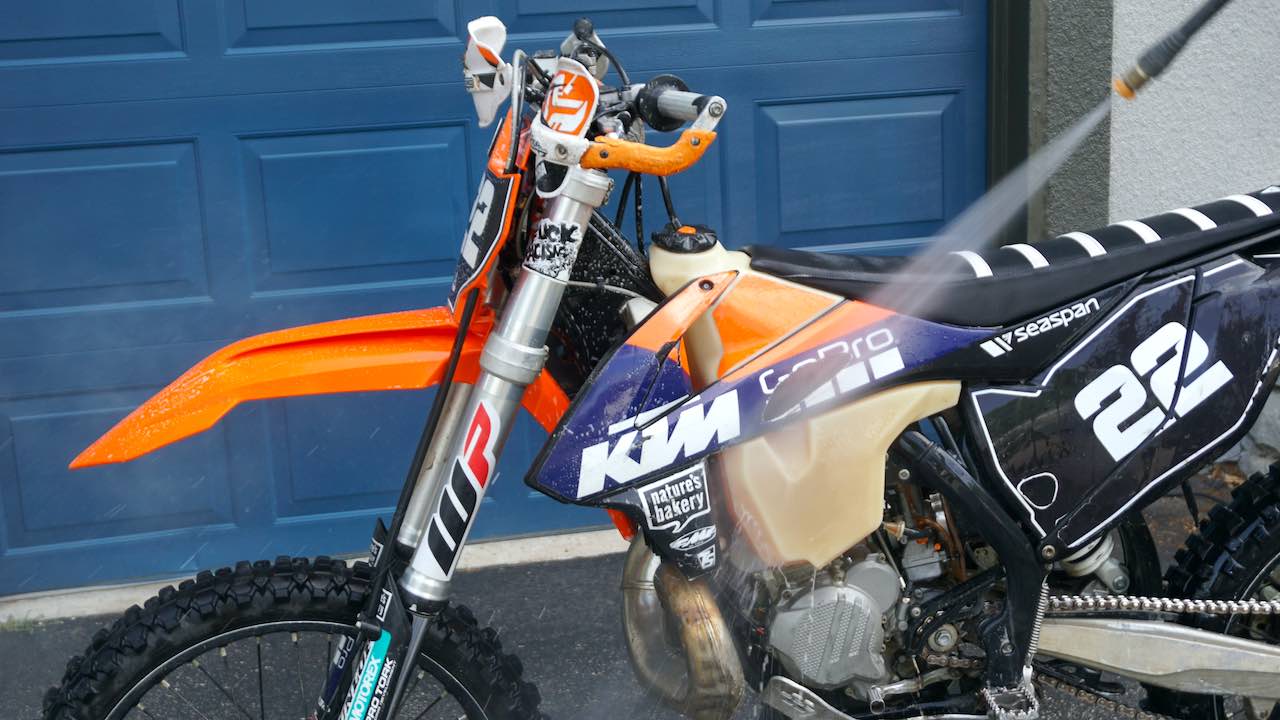
Repeat scrubbing with soap and rinsing as many times as needed until you don’t see any dirt, mud, or debris any more.
Remember to carefully rinse off all soap with clean water. Don’t leave any soapy residue on the dirt bike, because it can speed up the dirt bike plastics and seal wear.
5. Dry Off
Next, it is time to dry the dirt bike. You can use a clean, dry cloth or chamois for drying or let your dirt bike air dry. Keep in mind that letting your dirt bike air dry may lead to streaky finishes.
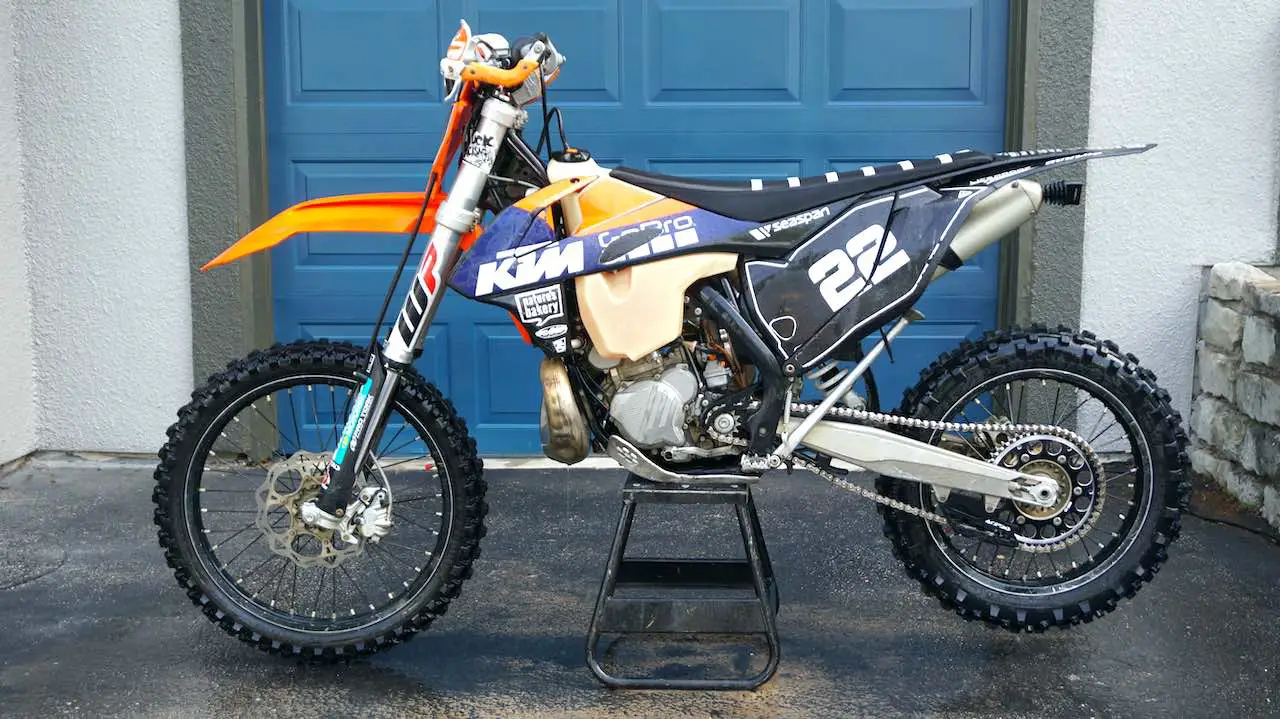
Personally, we don’t care about that since it’s going to get dirty again soon. So we just let our bikes to air dry. Also, it doesn’t require that much effort. All in all, it comes to what you prefer.
In addition to a cloth or chamois, you can also use a leaf blower or an air compressor to dry off the dirt bike. Especially, if you want to avoid water sitting or getting into the exhaust or electrical parts, it’s a good idea to blast some air into the nooks and crannies to dry it up.
Once the dirt bike is clean and dry, remove the exhaust wash plug and airbox wash cover and install a washed and oiled air filter. Then put back in all the other parts that you removed before you started to wash the dirt bike, such as the seat, pipe guard, and skid plate.
6. Inspect and Lube Critical Parts
Now that you’re finished with washing the bike, you have a great opportunity to inspect the dirt bike for any damage or wear.
It is also important to lube areas like the chain right after washing and drying the dirt bike.
Here’s a quick checklist for what to inspect and lube periodically:
- Check and clean the front fork dust seal for leaks.
- Inspect the dust seals and use a seal cleaner when needed.
- Check the steering wheel bearing for tightness.
- When the dirt bike is standing on the center stand, grab both fork legs near the wheel axle and push and pull back and forth. If you feel any play, inspect and regrease the steering axle bearings.
- Inspect and lube the chain and sprockets.
- Make sure the chain is clean and lube it to prevent rusting. It only takes few hours to see visible rust after washing the dirt bike so you need to lube the chain immediately.
- Inspect the chain guides for wear and alignment.
- Sometimes it’s difficult to notice debris lodged inside the rear chain guide so make sure you got it all out and clean.
- Inspect the clutch and brake fluid reservoirs for leaks and air bubbles.
- Using a pressure washer and sometimes tilting the dirt bike can cause leaks or air in the reservoir or in the lines. Test them and if you feel squishiness, bleed them.
- Lube the levers, kick start, rear brake pedal joints, foot pegs, and shifter.
- This will prevent corrosion and make sure they function smoothly.
What to Avoid When Washing a Dirt Bike
Using a pressure washer is an easy and quick way to wash your dirt bike. But it can also cause a lot of damage to certain parts.
When you clean your dirt bike with a power washer, be extra careful in the following areas in order to minimize damage and wear:
- Front and rear hydraulic brake covers and clutch cover
- The cover/cap has small breathing air holes and high water pressure will cause water to penetrate in and possibly mix with the brake fluid.
- Throttle cam and throttle cable assembly areas
- Direct water spray can push sand inside the throttle housing and cause wear and oxidation in the cable and the throttle cam, resulting into a sticky throttle.
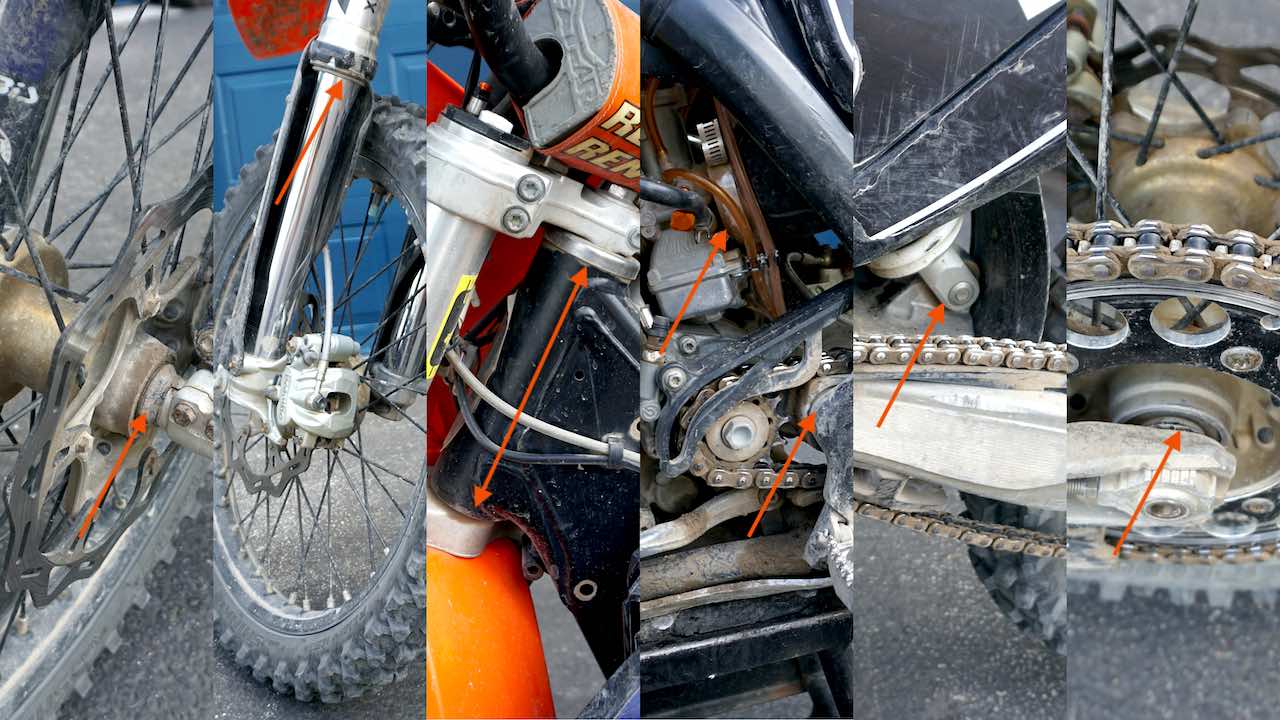
- Steering axle bearings (see image 3 below)
- Avoid the top and bottom area.
- Front fork dust seals (see image 2 below)
- Do not spray upwards into the front fork dust seals as the pressure will push sand further into the oil seals.
- Front and rear wheel bearings (see images 1 and 6 below), swing arm (see image 4), linkage and rear shock bearings (see image 5)
- Avoid direct high water pressure into any bearings as it will quickly deteriorate the bearing lifespan.
- Carburetor or throttle body area (see image 4 below)
- High water pressure can force water into wiring and places where it will cause leaks or corrosion.
- Under the seat
- Avoid directly pointing water stream into the battery and wiring.
- Avoid stripping decals and stickers
- If you use an aggressive power washer nozzle, it can easily strip off stickers and decals and even damage the plastics.
- Levers and rear brake pedal area
- Avoid directly spraying into the levers and the rear brake pedal. The hydraulic piston seal can be damaged and you will also push out grease from the lever pins and cause corrosion. If you have a cable clutch, you should prevent water from getting inside the cable housing.
Extra Dirt Bike Washing Tips
If you see any oil leaks in the front forks, clean them by following the instructions in our guide for how to clean leaking fork seals on a dirt bike.
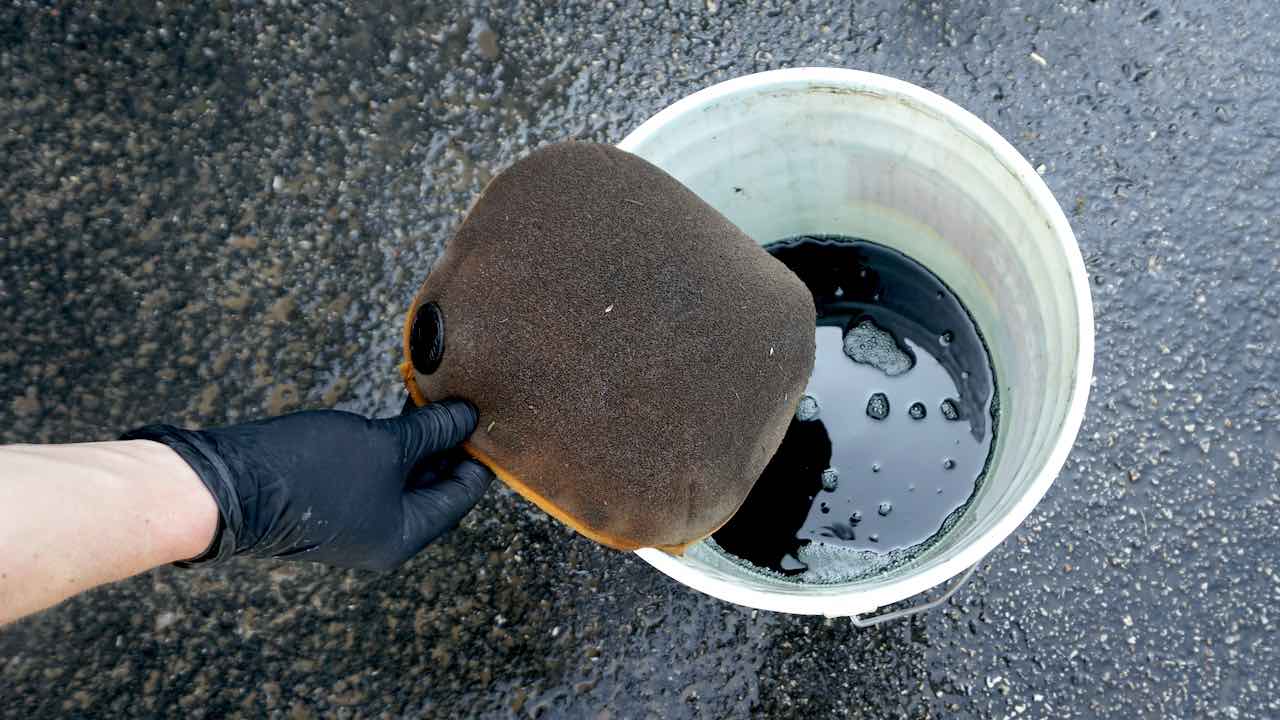
The air filter should be washed after every ride so it’s convenient to do it at the same time when you wash the dirt bike. It’s all very simple: take the air filter out, drop it into a bucket filled with a degreaser, and submerge the air filter in it for the duration of the wash. Finally, rinse off and let the air filter dry before oiling it. Check out our step-by-step instructions for how to clean the air filter on a dirt bike for more details and tips.
It’s important to lube the chain after each time you wash the dirt bike. The chain will rust easily and quickly after a wash, so lube the chain immediately after drying it off with a cloth or towel.
Conclusions
Washing the dirt bike right after a ride day is a great way to keep the dirt bike looking good and performing like it should.
Using proper washing techniques when you wash your dirt bike will ensure that the parts will last long and function properly. It’s also a great opportunity to inspect the dirt bike for any damage and worn-out parts during the washing process.
We also recommend performing a deep clean every now and then to remove all dirt and build-up in hard-to-reach places.
Now that your bike is spotless, go and make it dirty again!
Read next:
